Quick Start Guide for Your Kiosk
Read Me First
1. Before proceeding with setup, please take some time to carefully inspect all boxes for any signs of damage. Look out for holes, cracks, breaks, or any other issues with the packaging or kiosk itself.
If there is any damage, immediately take photos and/or videos clearly showing the issue and send to production@advancedkiosks.com and then call us at (603) 865-1000 ex. 107.
Check the contents of the shipment. Missing items should be reported immediately. Inside, you should find:
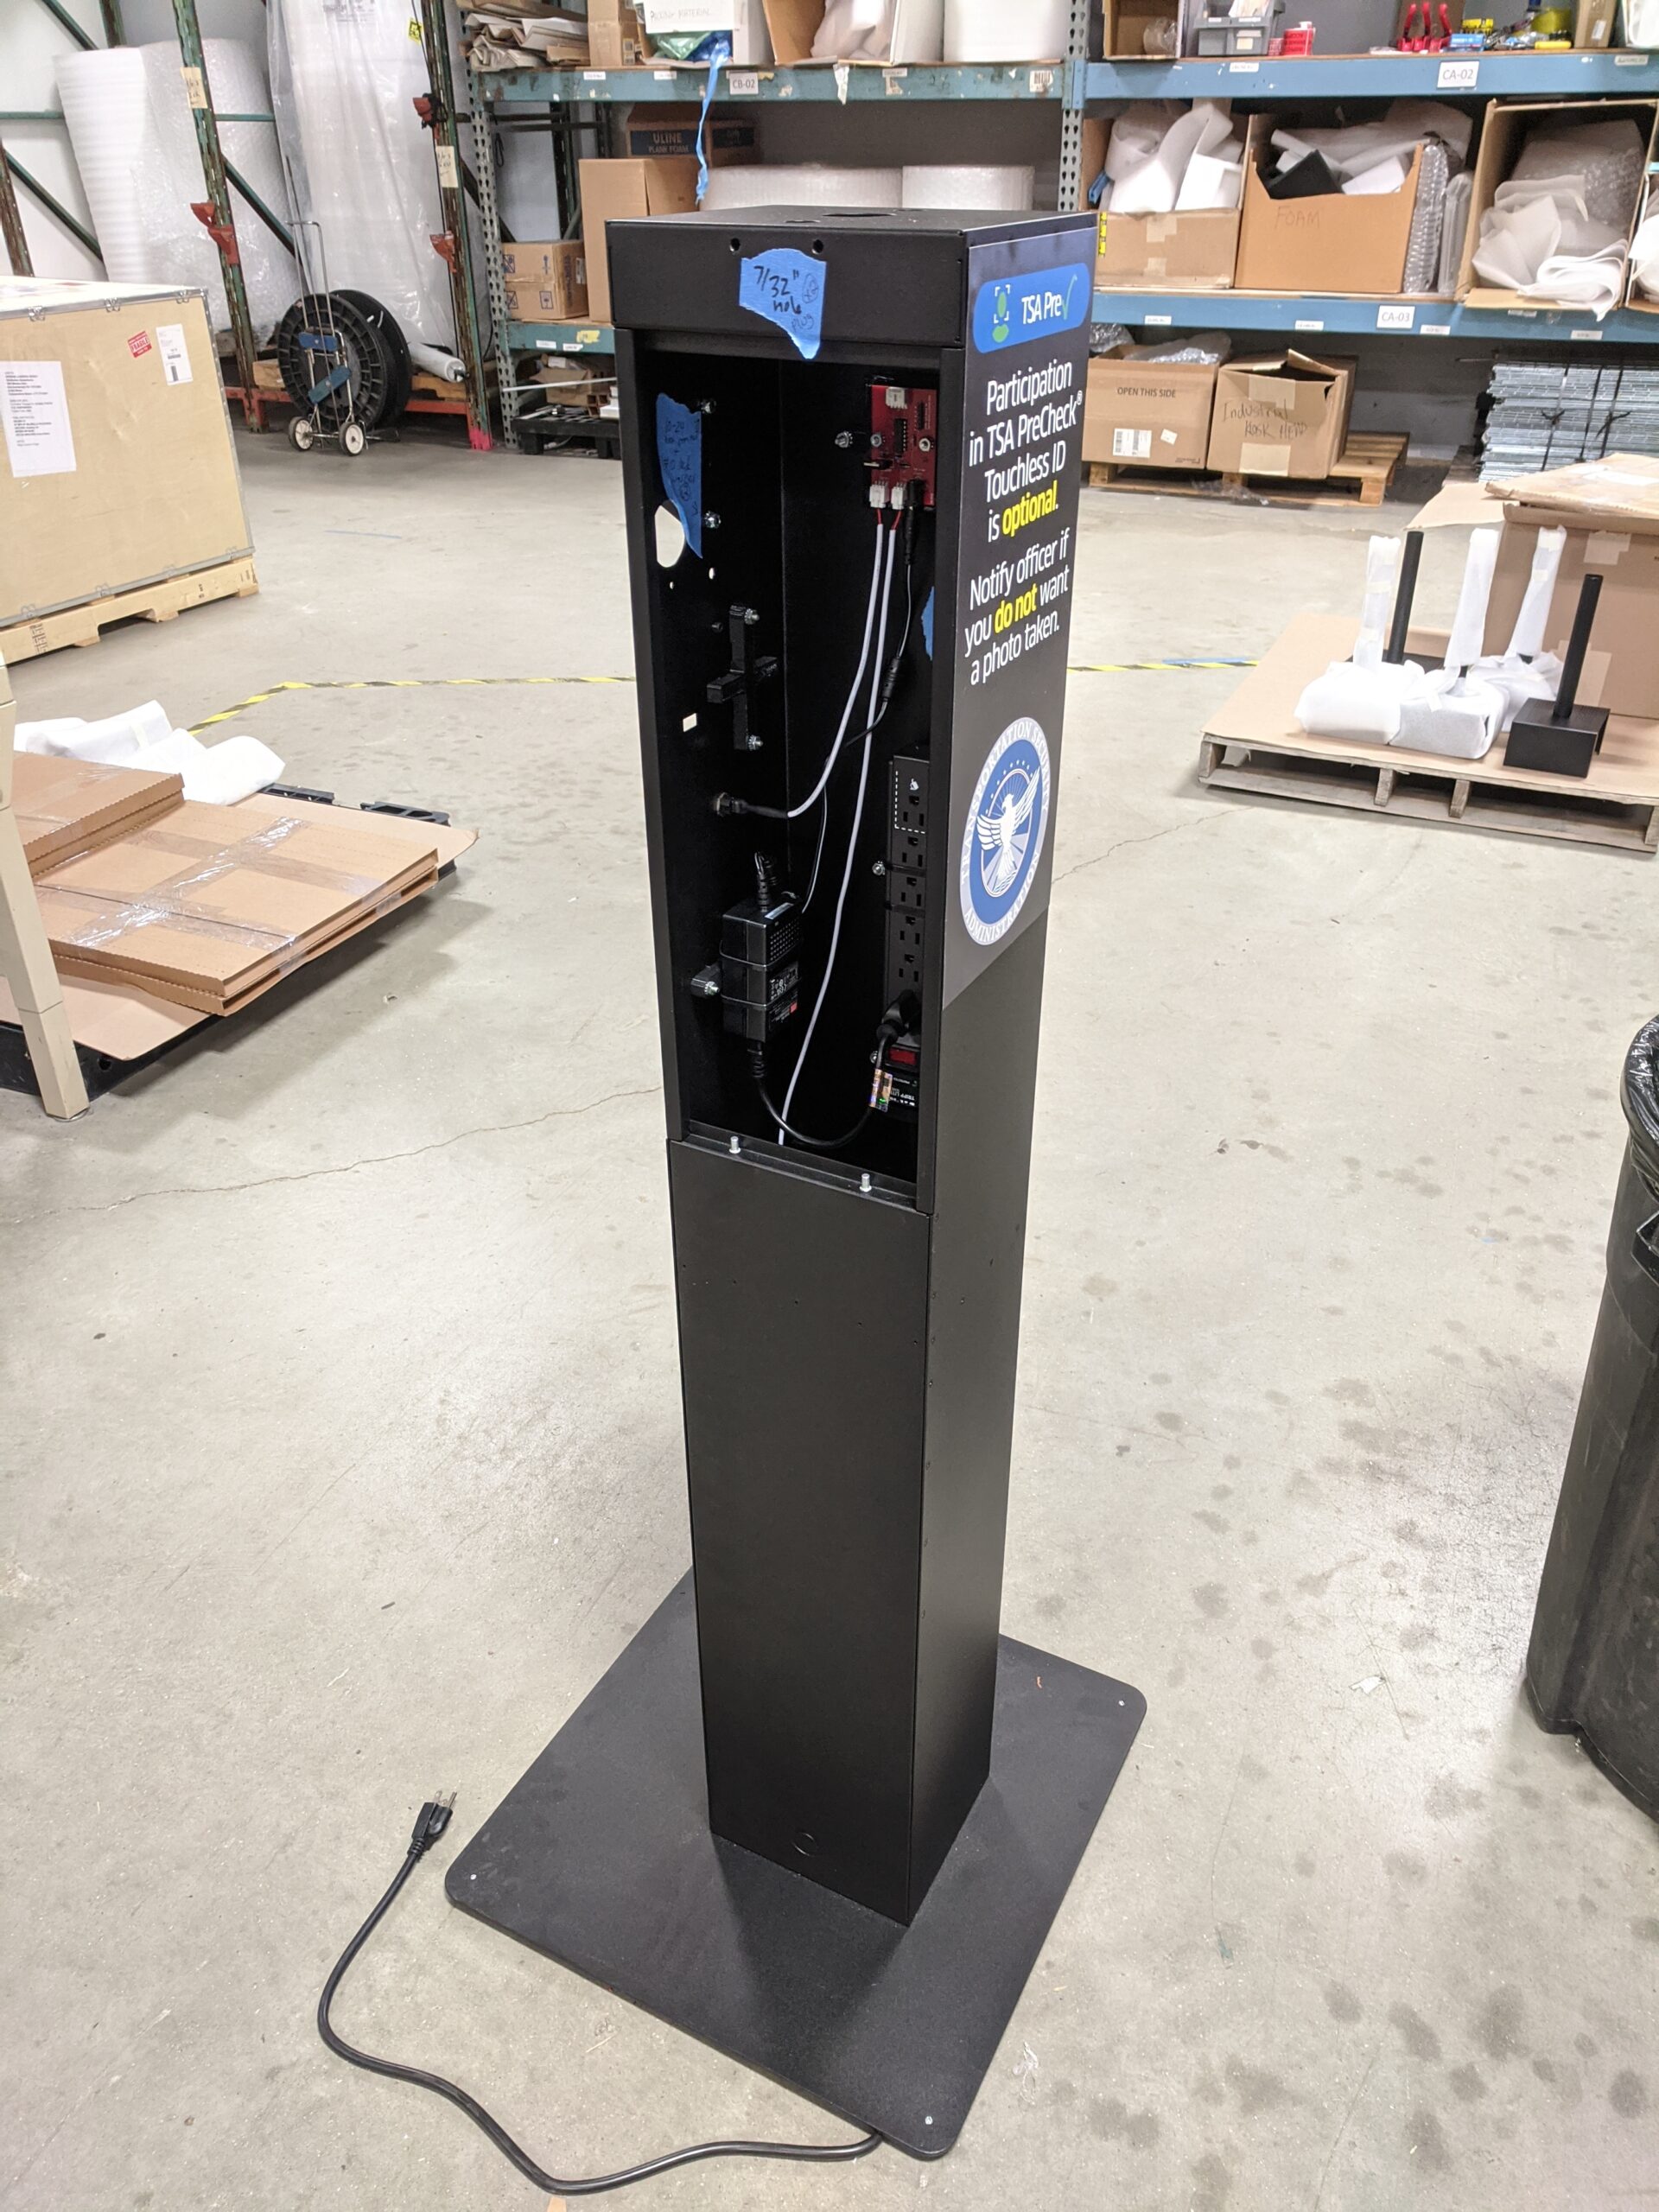
- Main kiosk body
- 4″ Extension arm
- Light bar
- Camera holder with cover
- Inside main kiosk body: wheels and tablet holder mounting plate
- Tablet holder with privacy screen
- Base (in separate box)
- Bag of essential parts:
- Cat6 Network Cable with coupler
- Camera adjuster tool (long 3/16″ allen wrench)
- Camera adjuster hole plugs (7/32″ plastic plugs)
- Braided sleeve 2-part black collar with wire insert
- 3D printed corrugated sleeve insert
- Extra zip ties and zip tie mounts
2. Make sure any work surface you set the kiosk body down on is free of dirt and debris. Use the packing materials to protect the paint when laying the kiosk down for assembly.
3. If you don’t have a small table, use the cardboard box that the kiosk arrived in to lay the main body parallel to the ground. At the bottom of the kiosk body, you will find qty 4 of 10-32×3/4” Allen head bolts preinstalled. Use a 5/32” Allen key to unscrew the 4 bolts. Note the sticker on the bottom of the main kiosk body noting the orientation of the base once installed. Line the base up with the sliding feet facing towards you and thread the bolts back into the kiosk body.
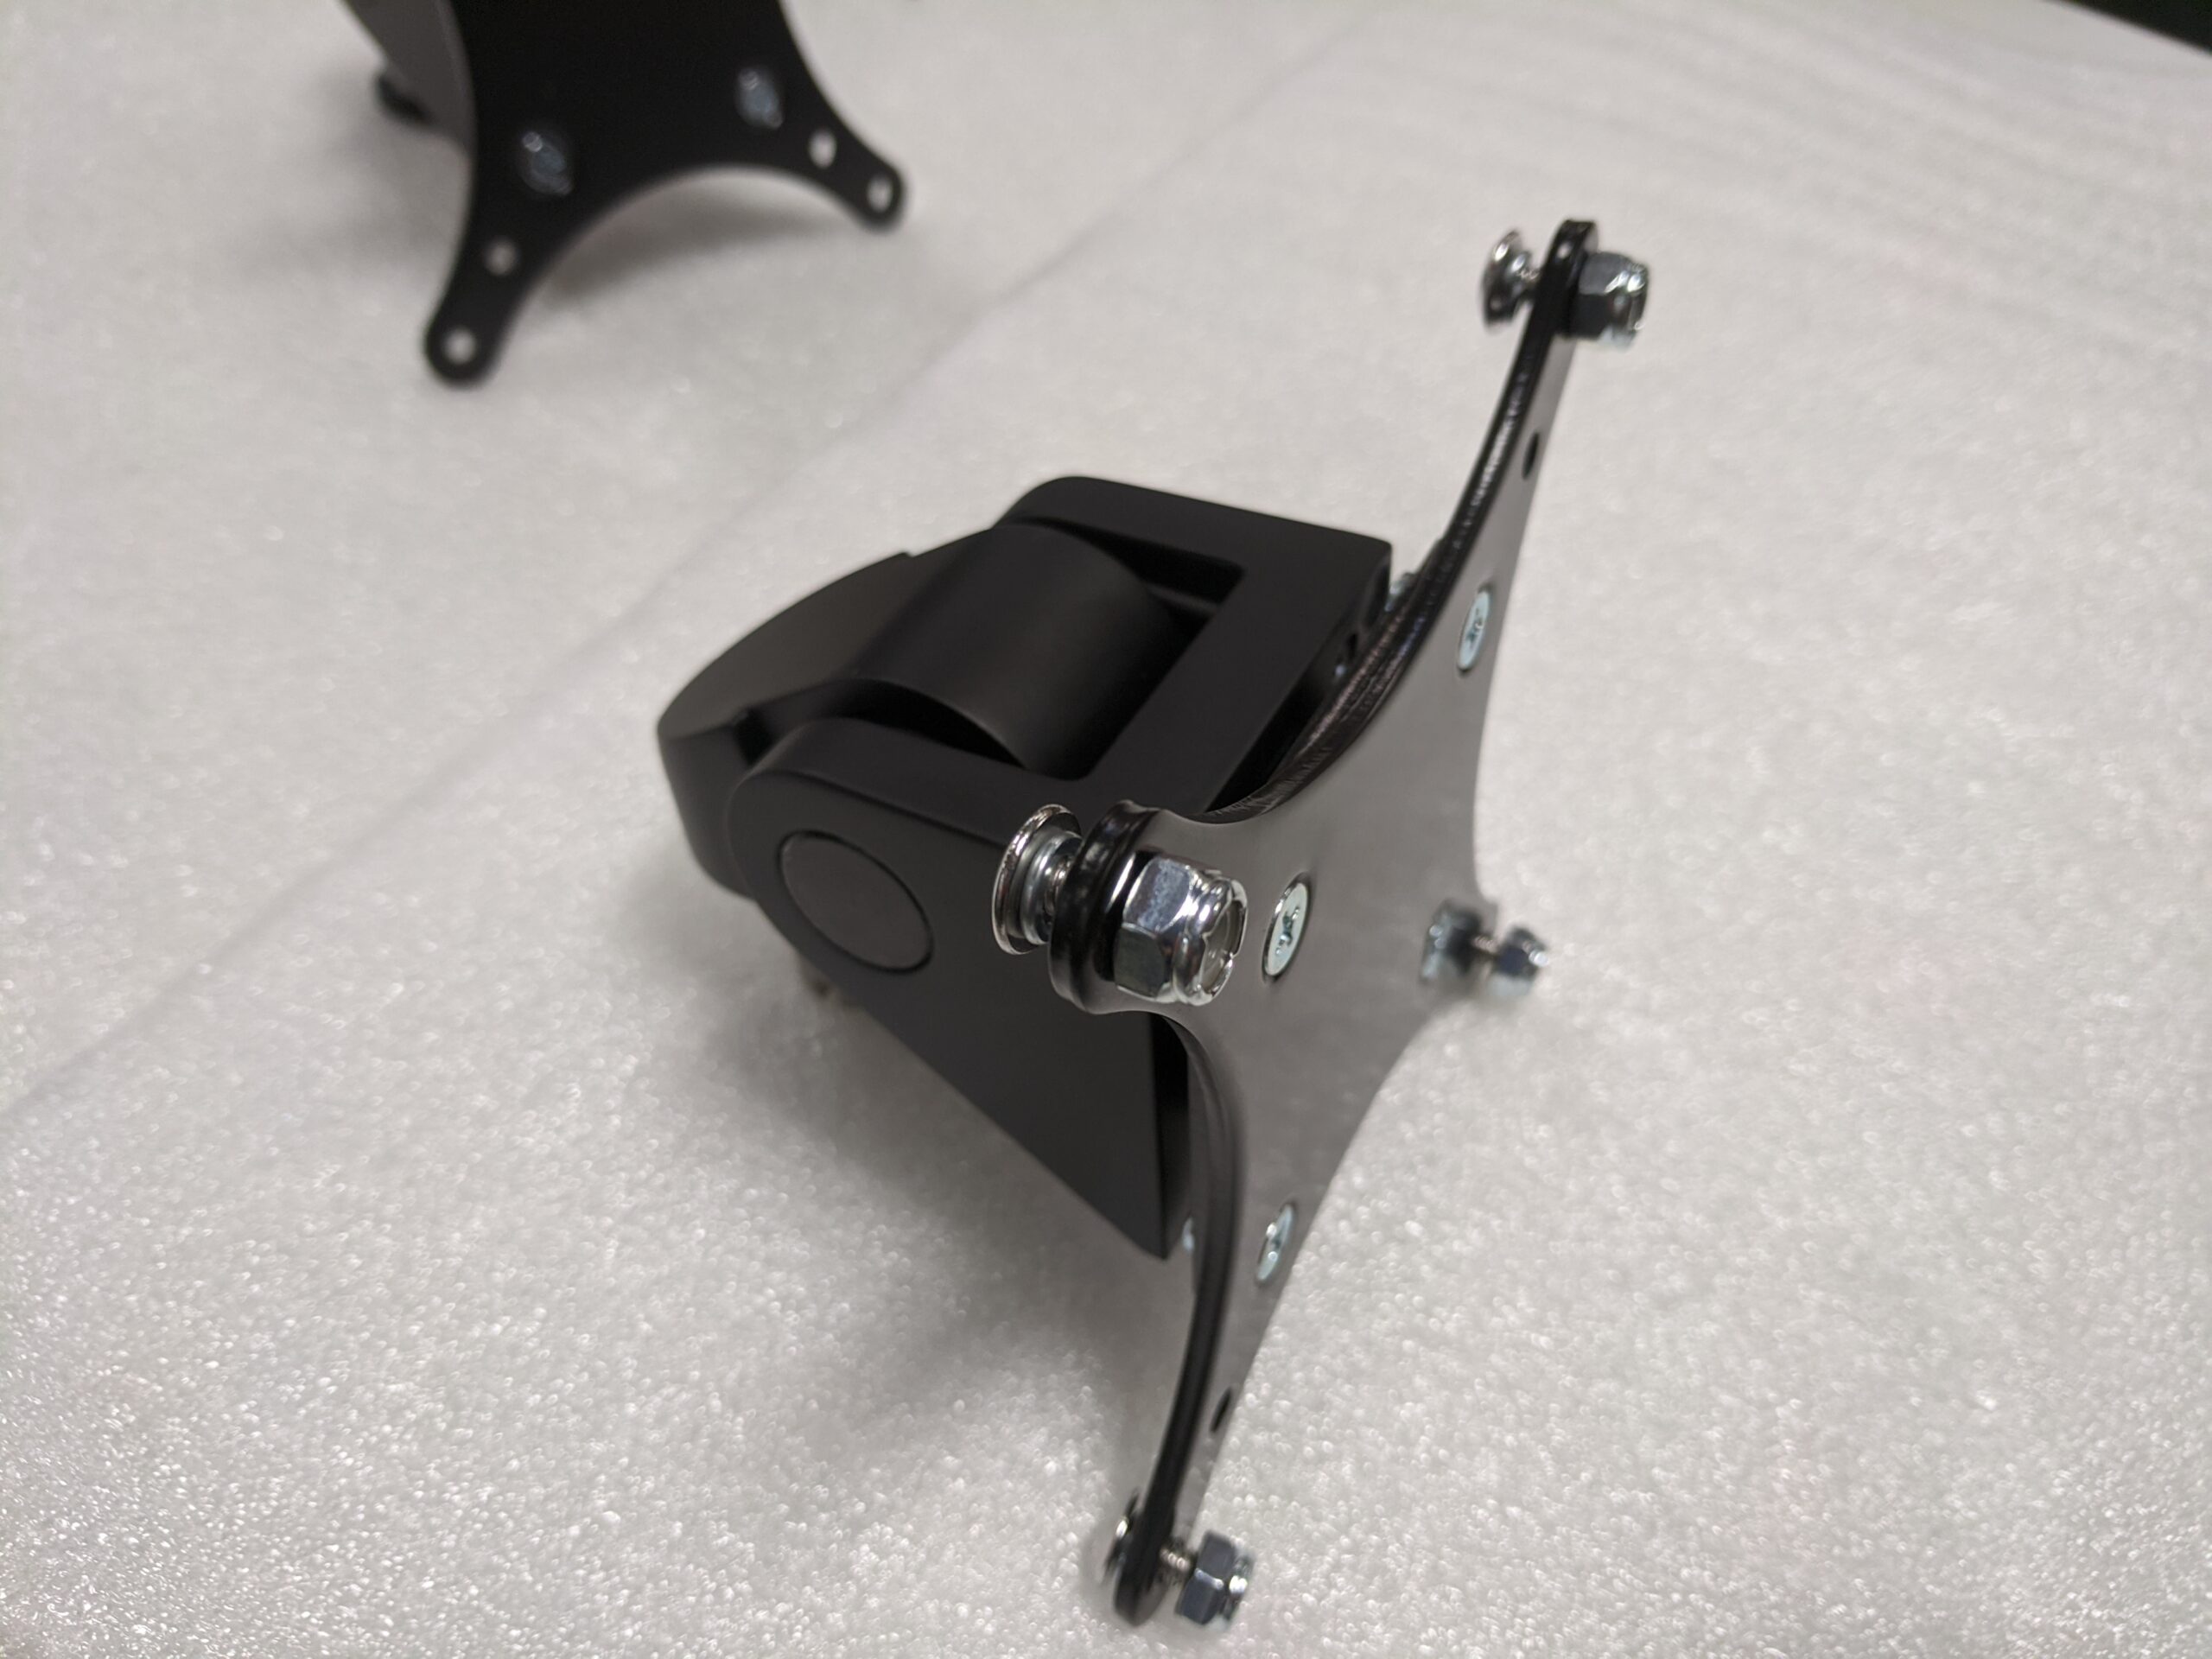
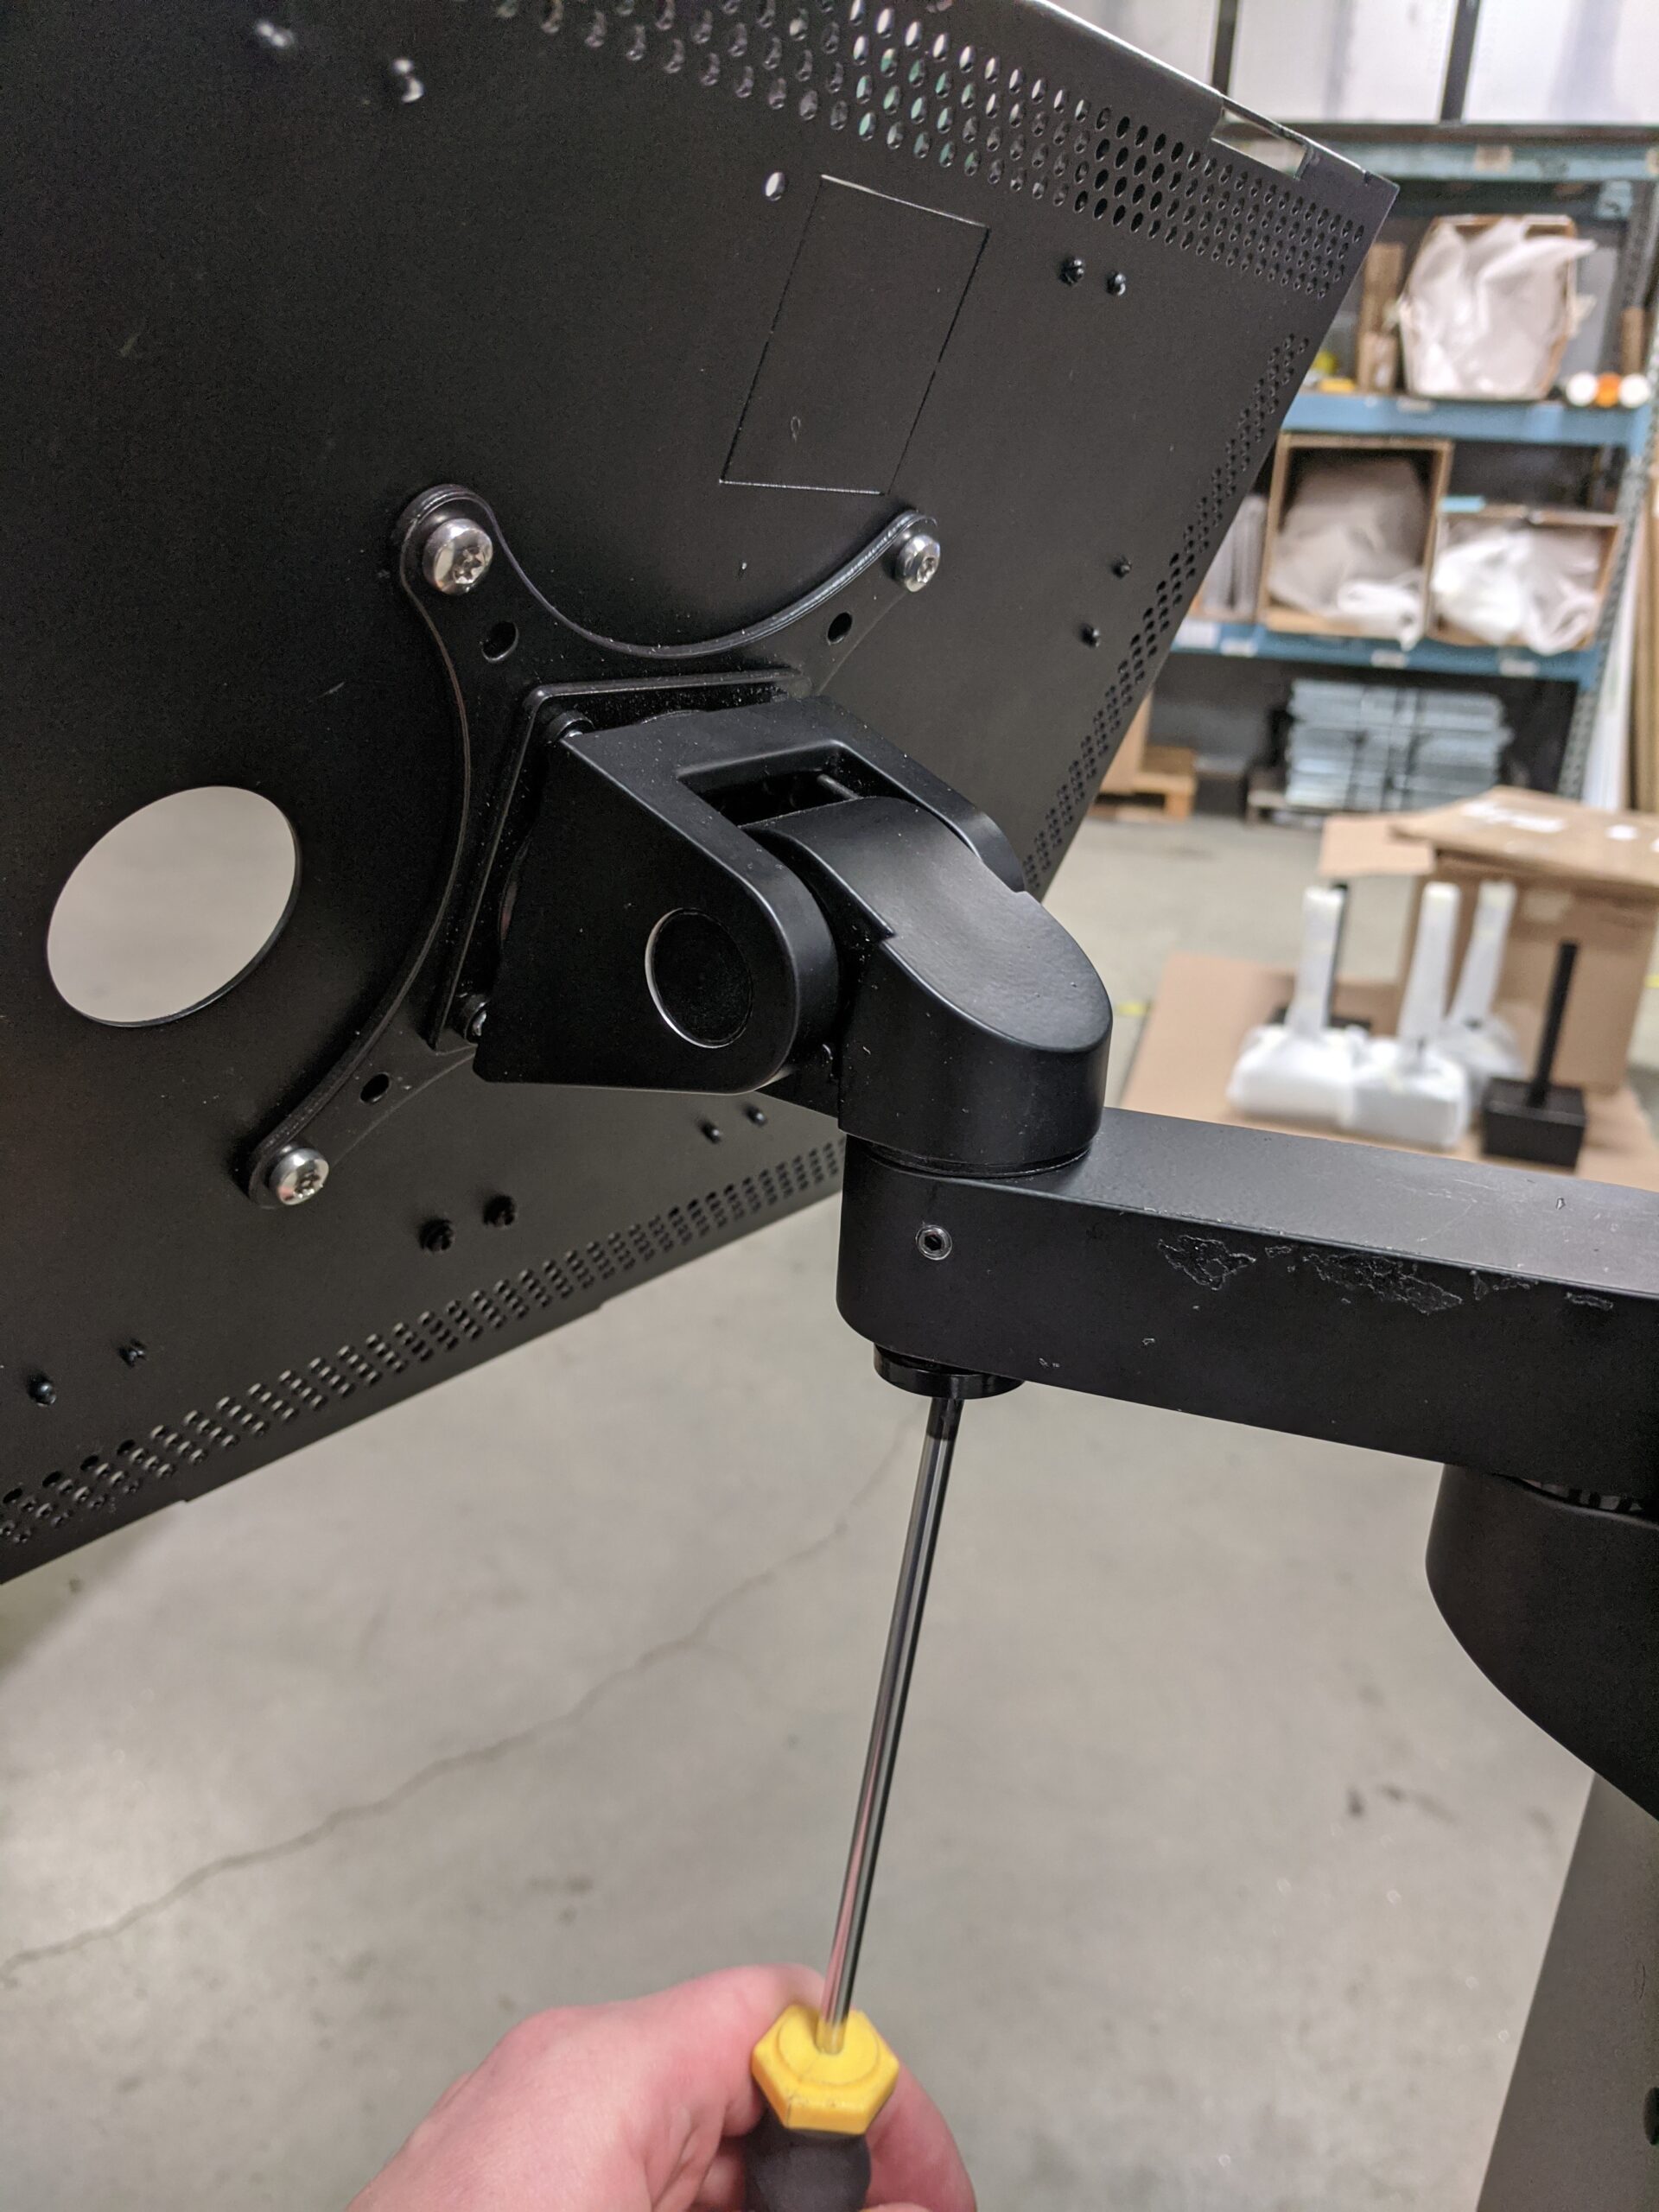
5. Mount the tablet holder mounting plate to the tablet holder. The screws, washers and nuts should be preinstalled in the correct orientation. Install the tablet holder using this hardware. Then remove the small Philips head bolt holding the plate that connects the tablet holder to the extension arm. Install the tablet holder and then re-install the tablet holder plate noting the two notches that sit in the receiver side of the plate surface. Tighten the screw until the tablet holder will move with firm action.
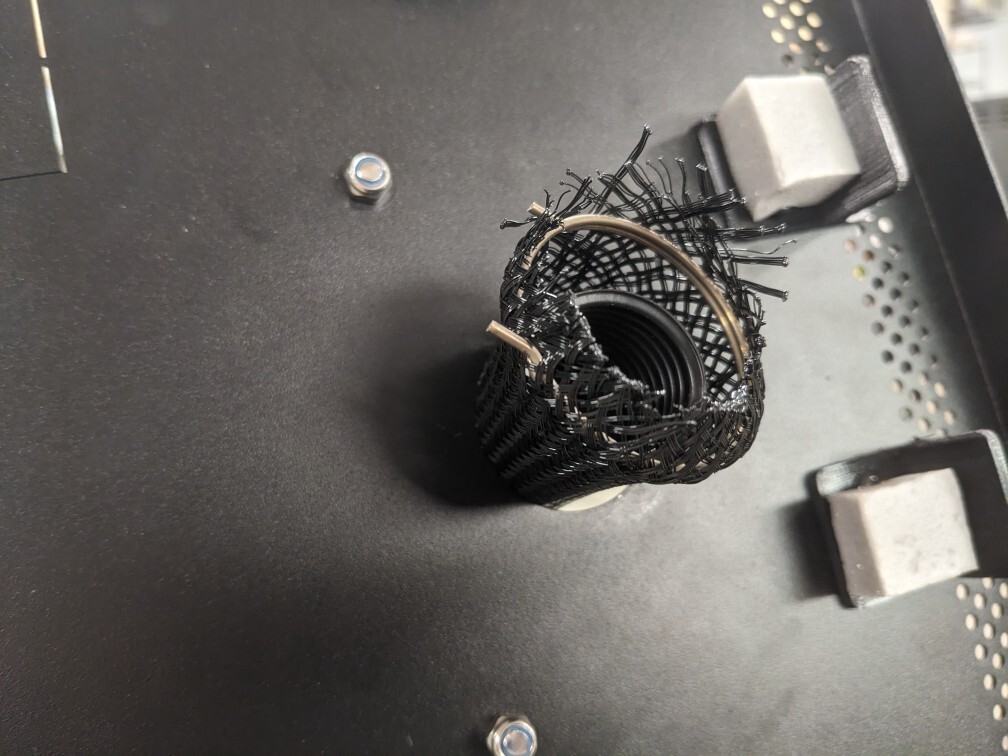
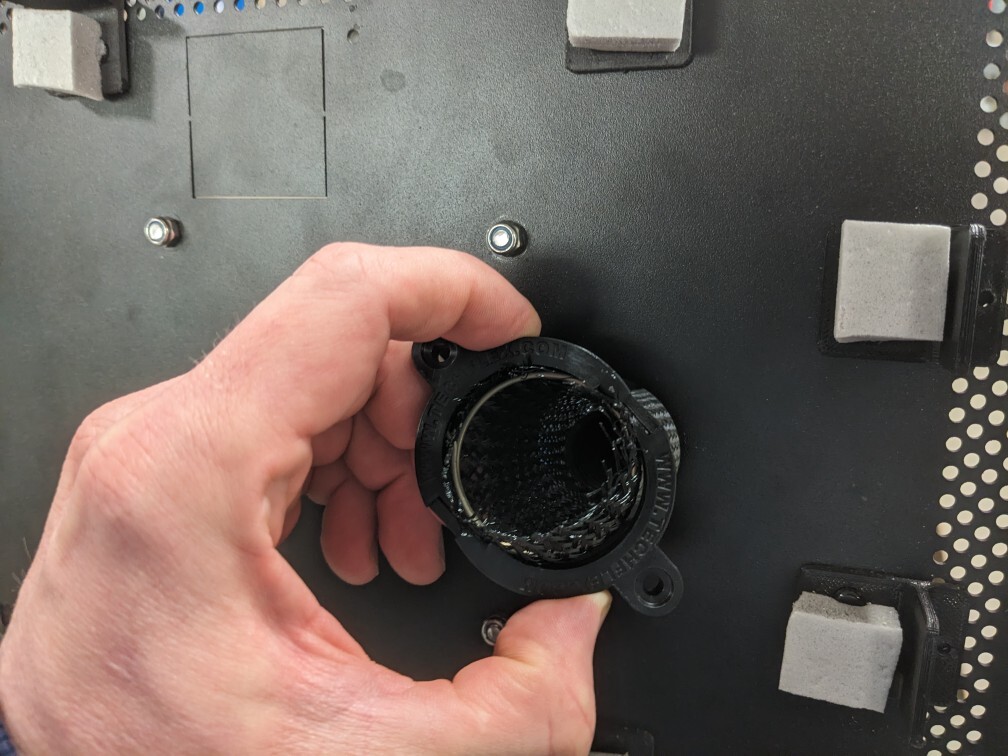
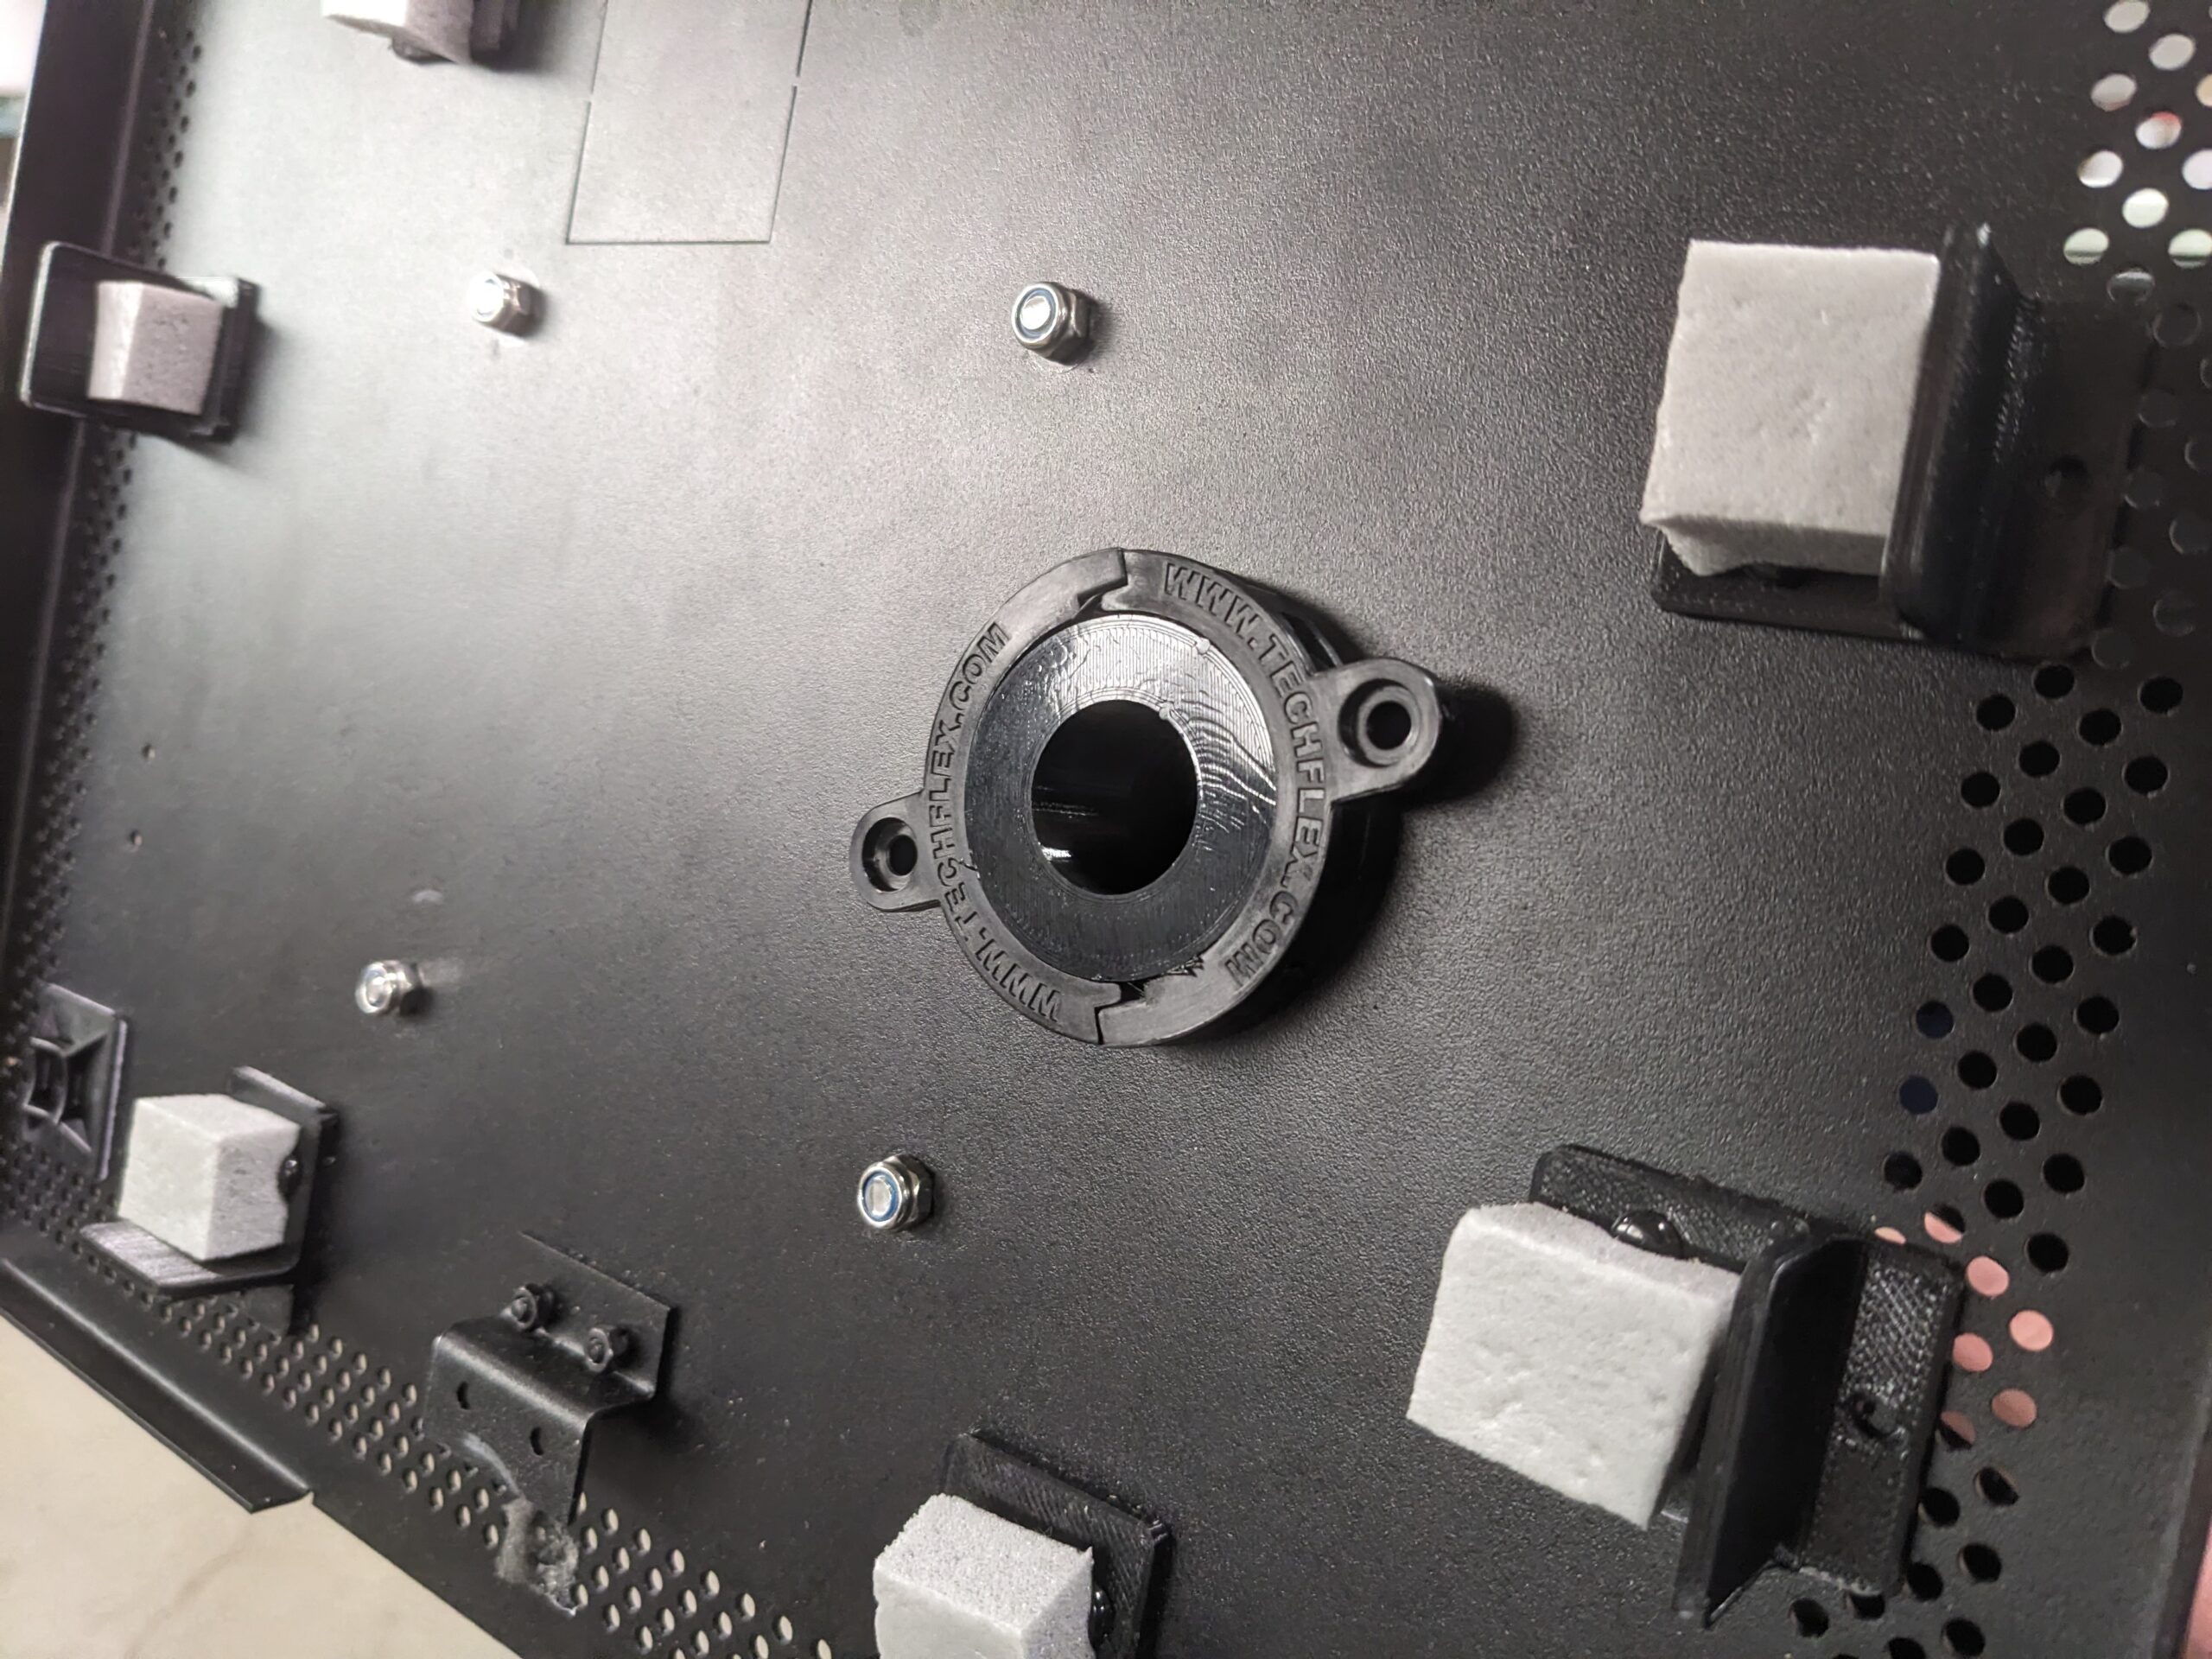
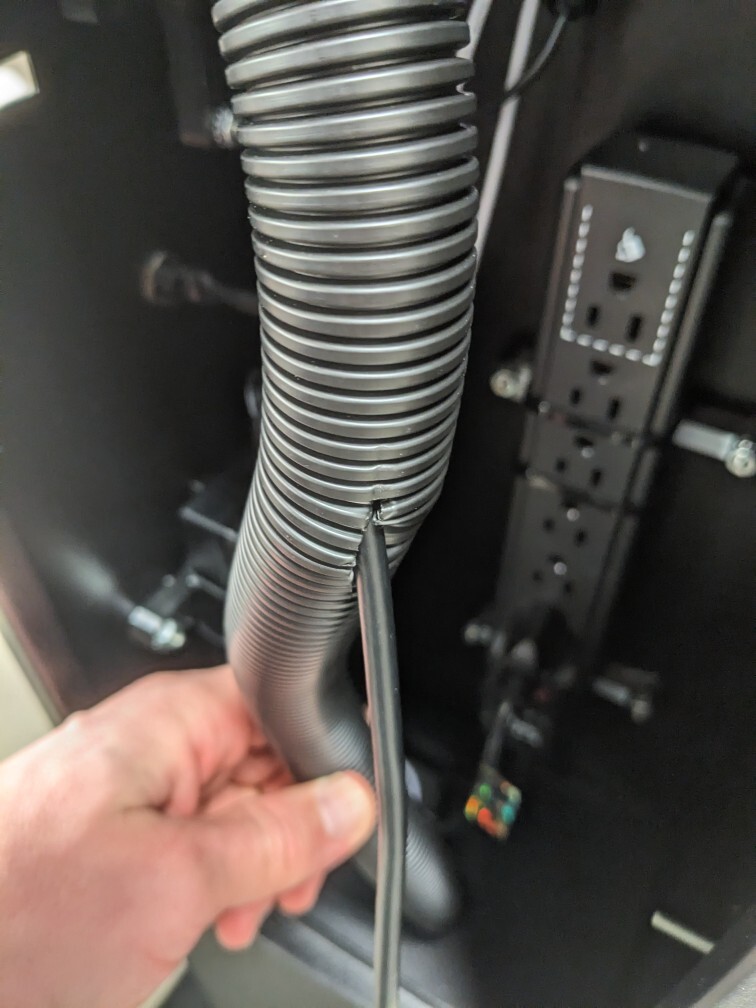
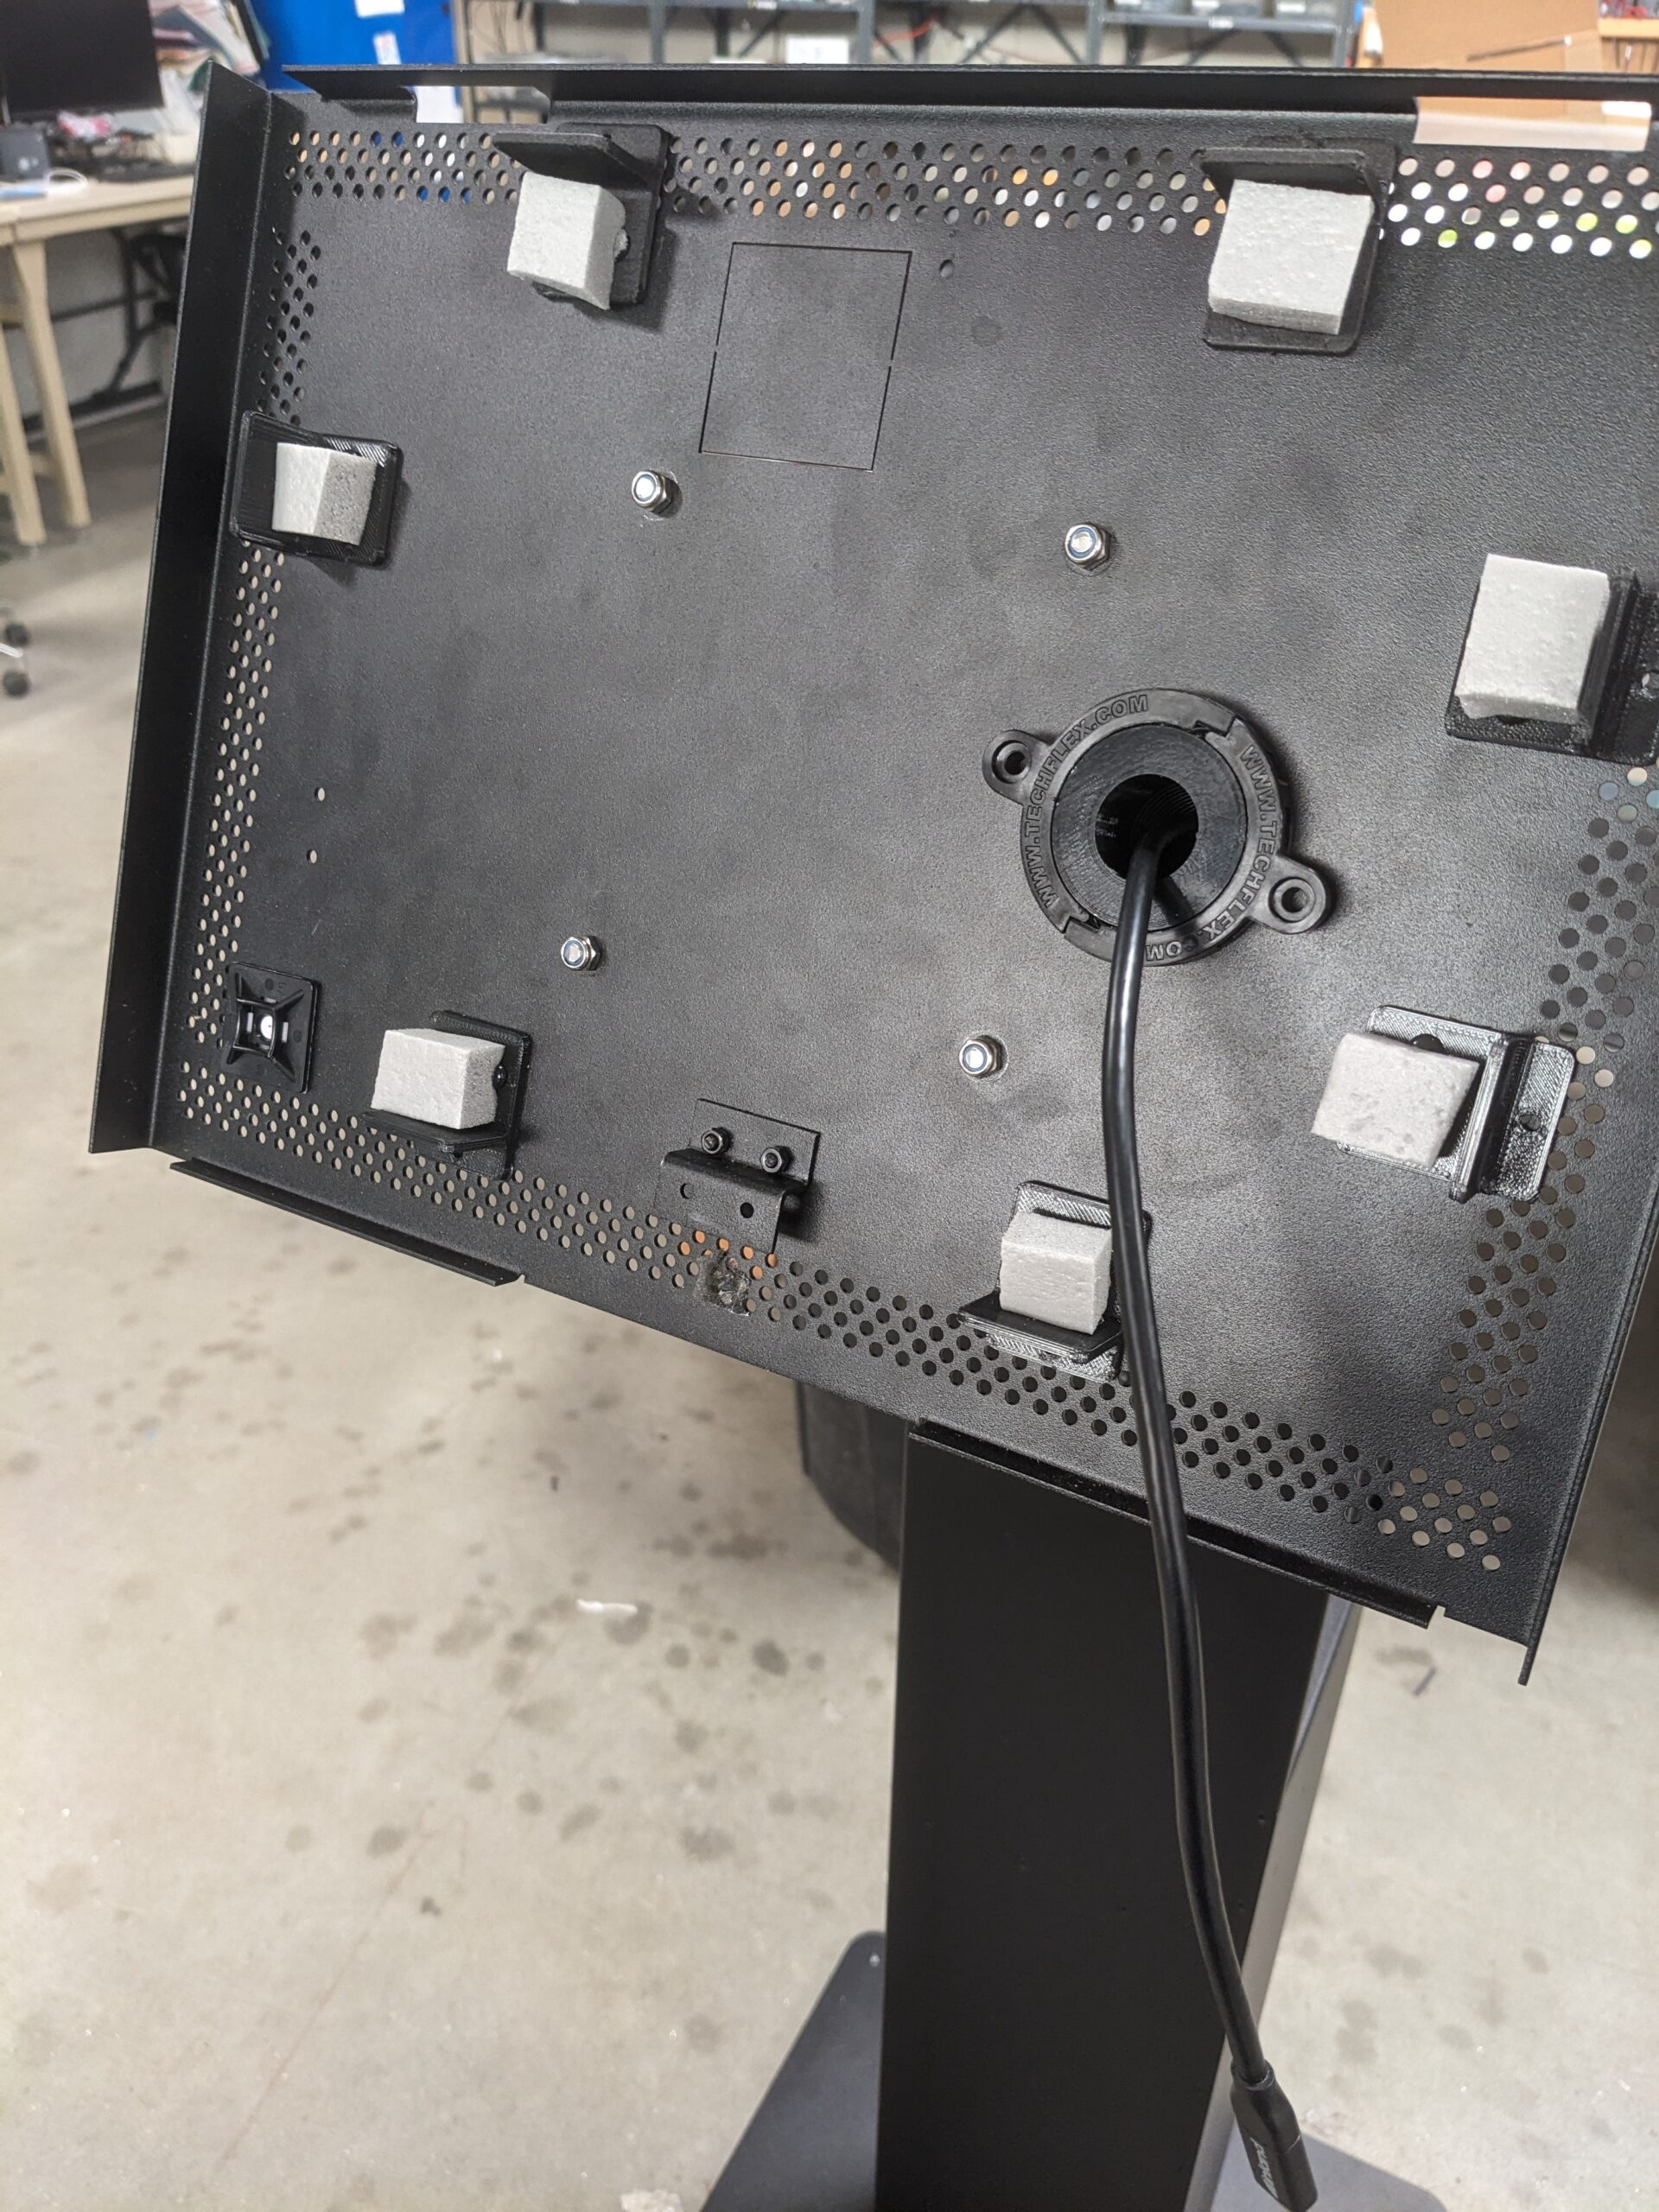
6. Feed the corrugated tube with the braided sleeve that protrudes from the kiosk through the hole in the back of the tablet holder. You will use the 2-part black collar with wire insert and the 3D printed corrugated sleeve insert for this step. Once the tubes are through the hole, insert the metal ring .5 to 1” into the braided sleeve. Line up one of the parts of the black plastic so that the two prongs are held in place by the black plastic piece. Then snap the other black plastic piece into the first one so that it wraps around the corrugated plastic tube and won’t go back through the hole in the tablet holder. Then put the 3d printed plug into the corrugated tube so that both pieces are held in place. At this point, you can make a small incision in the corrugated plastic tube to insert the USBC cable through that connects the hub to the tablet. Use a small piece of electrical tape to cover the hole once the cable is in place.
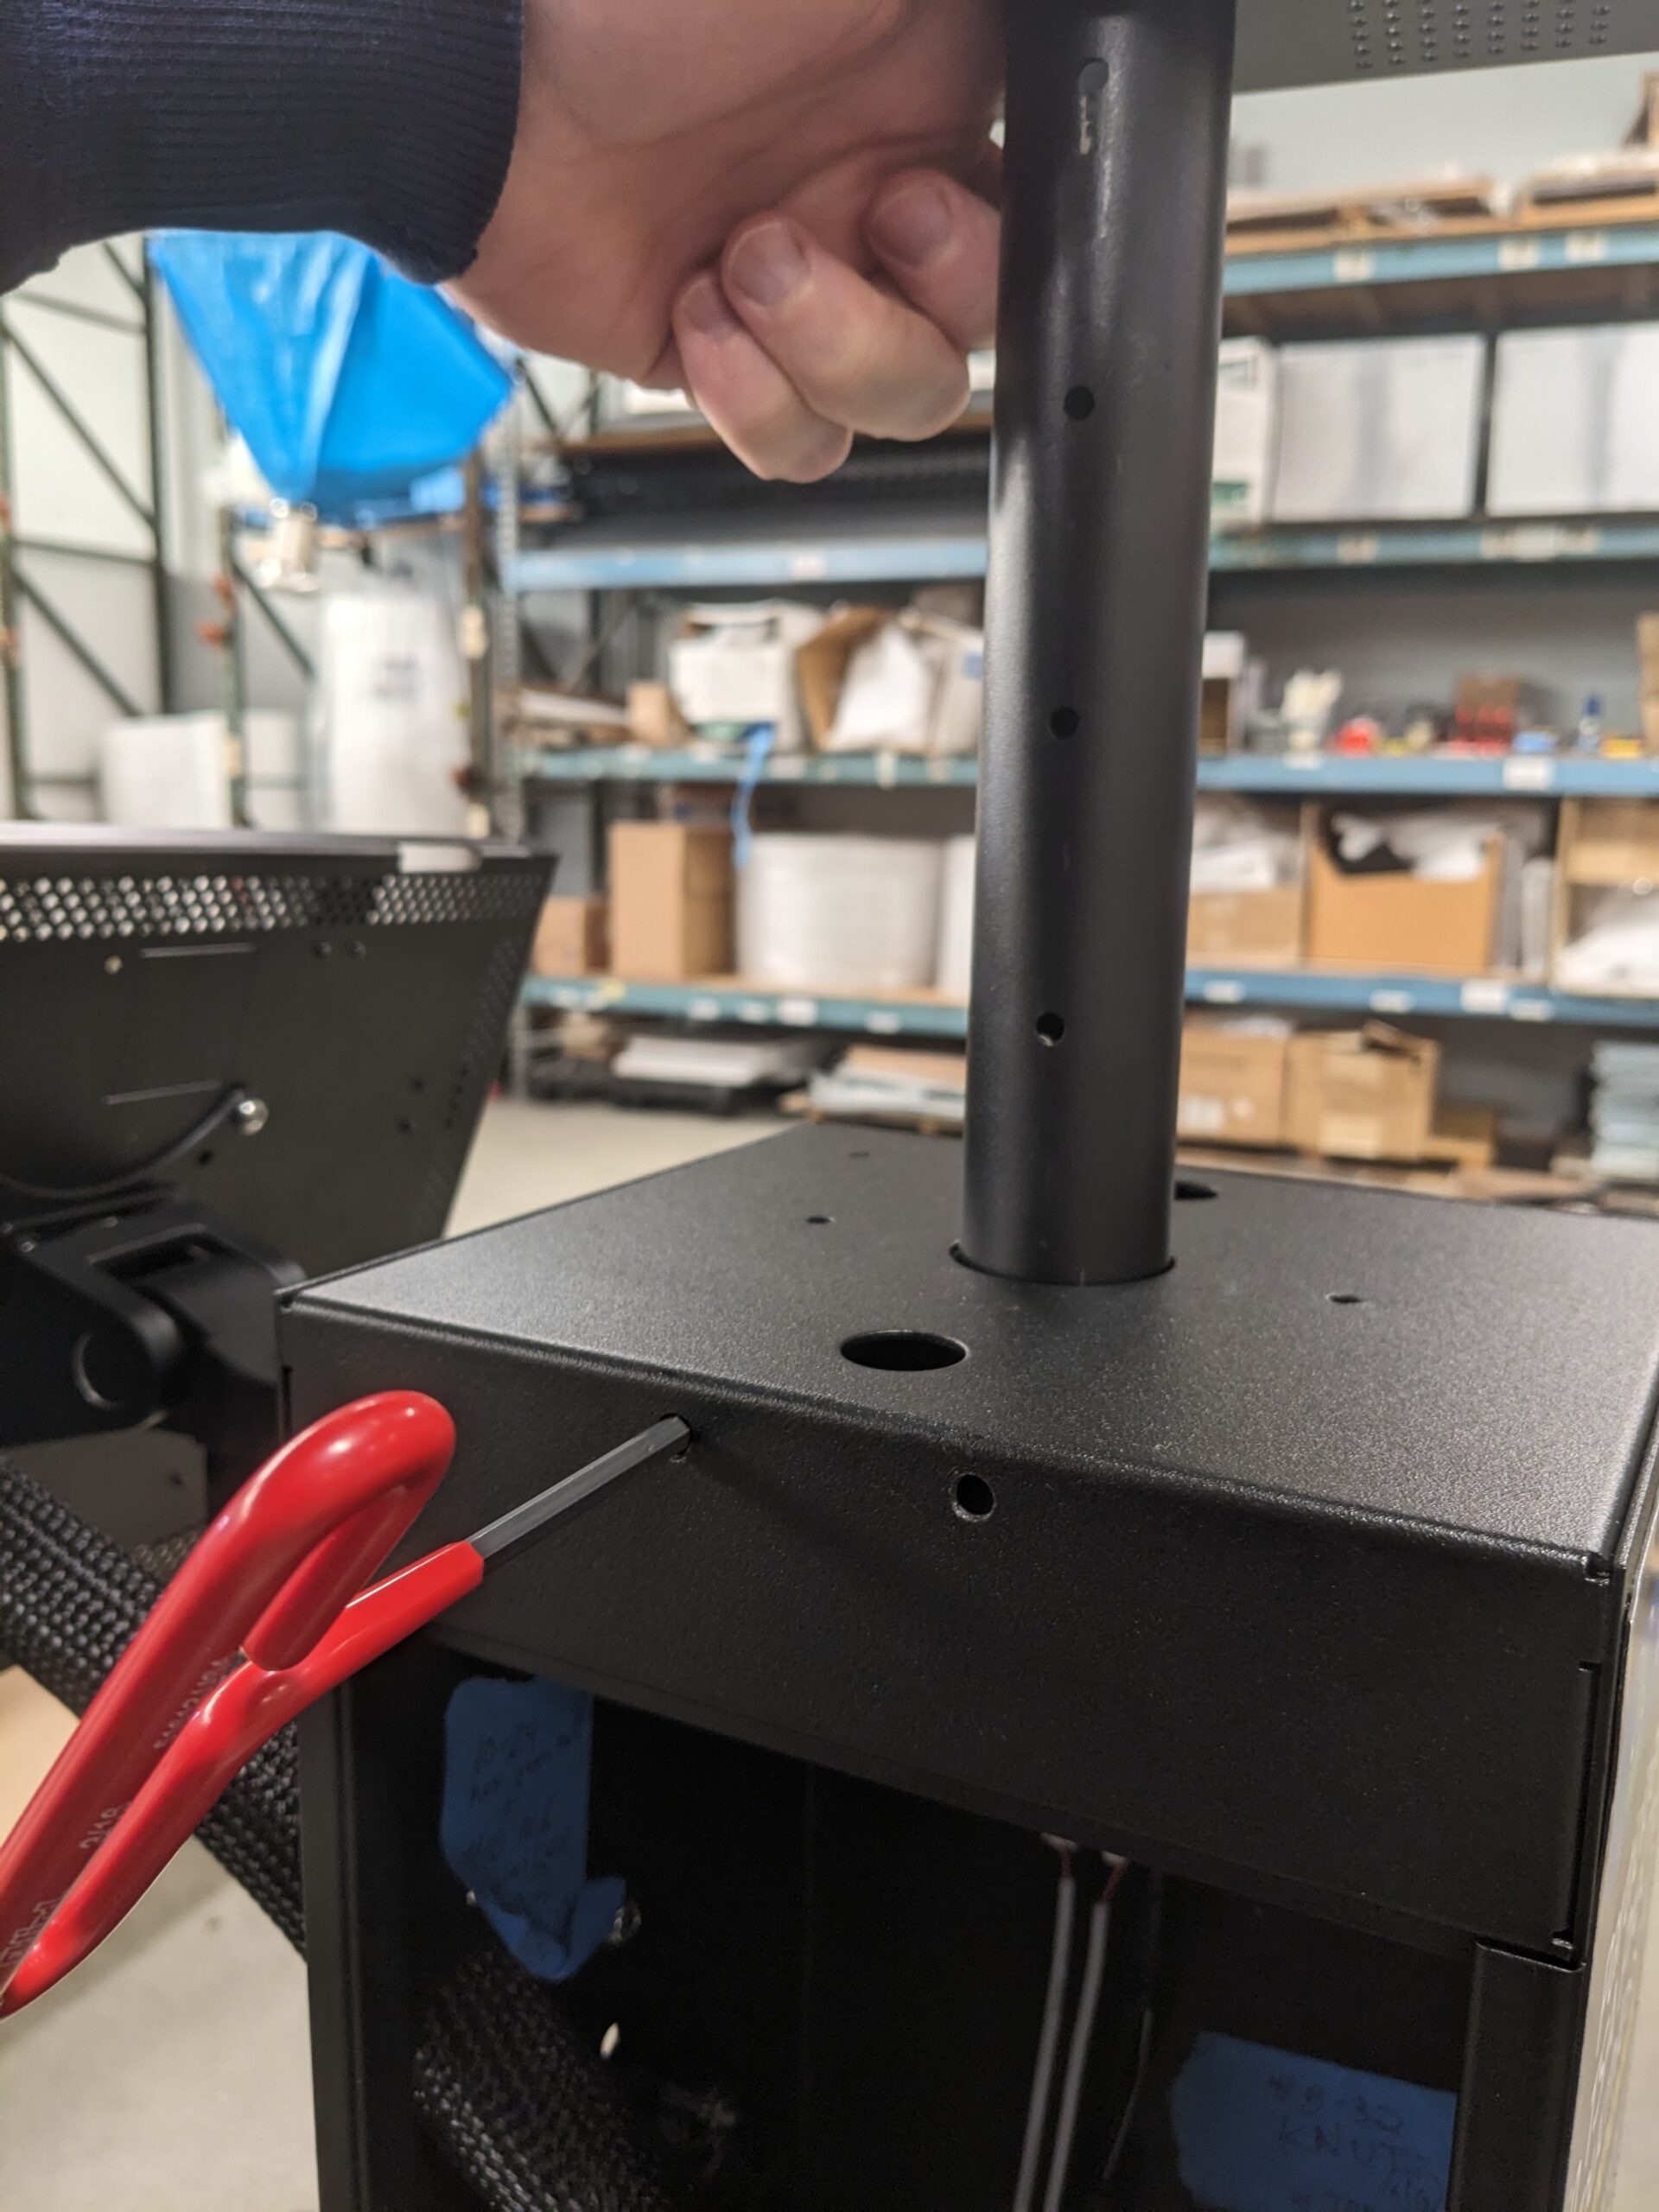
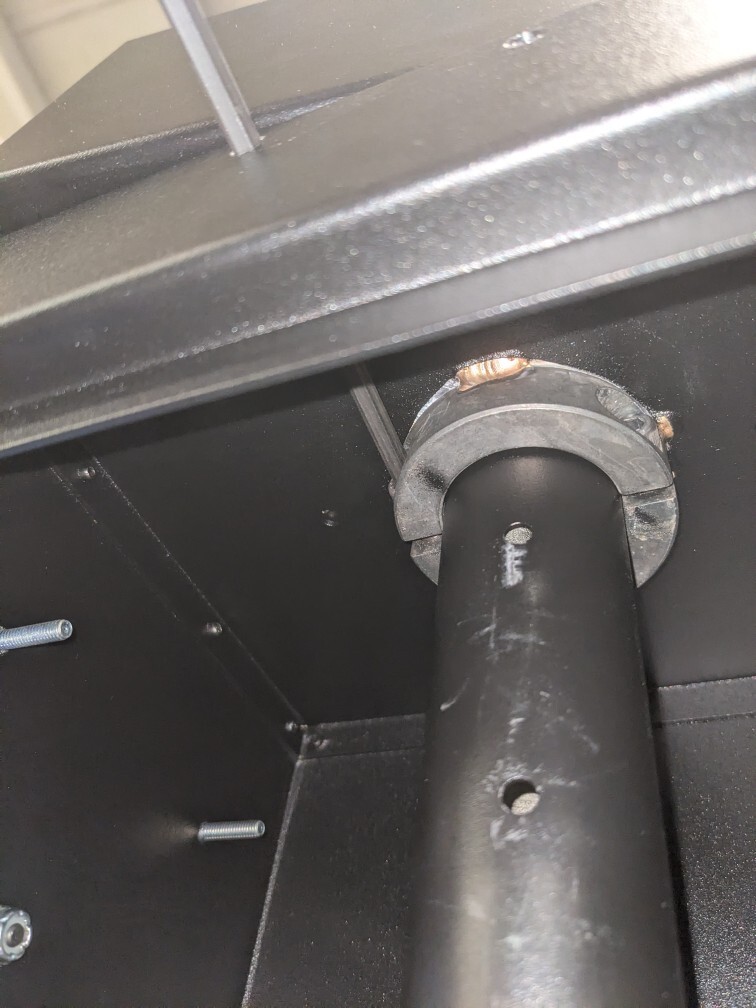
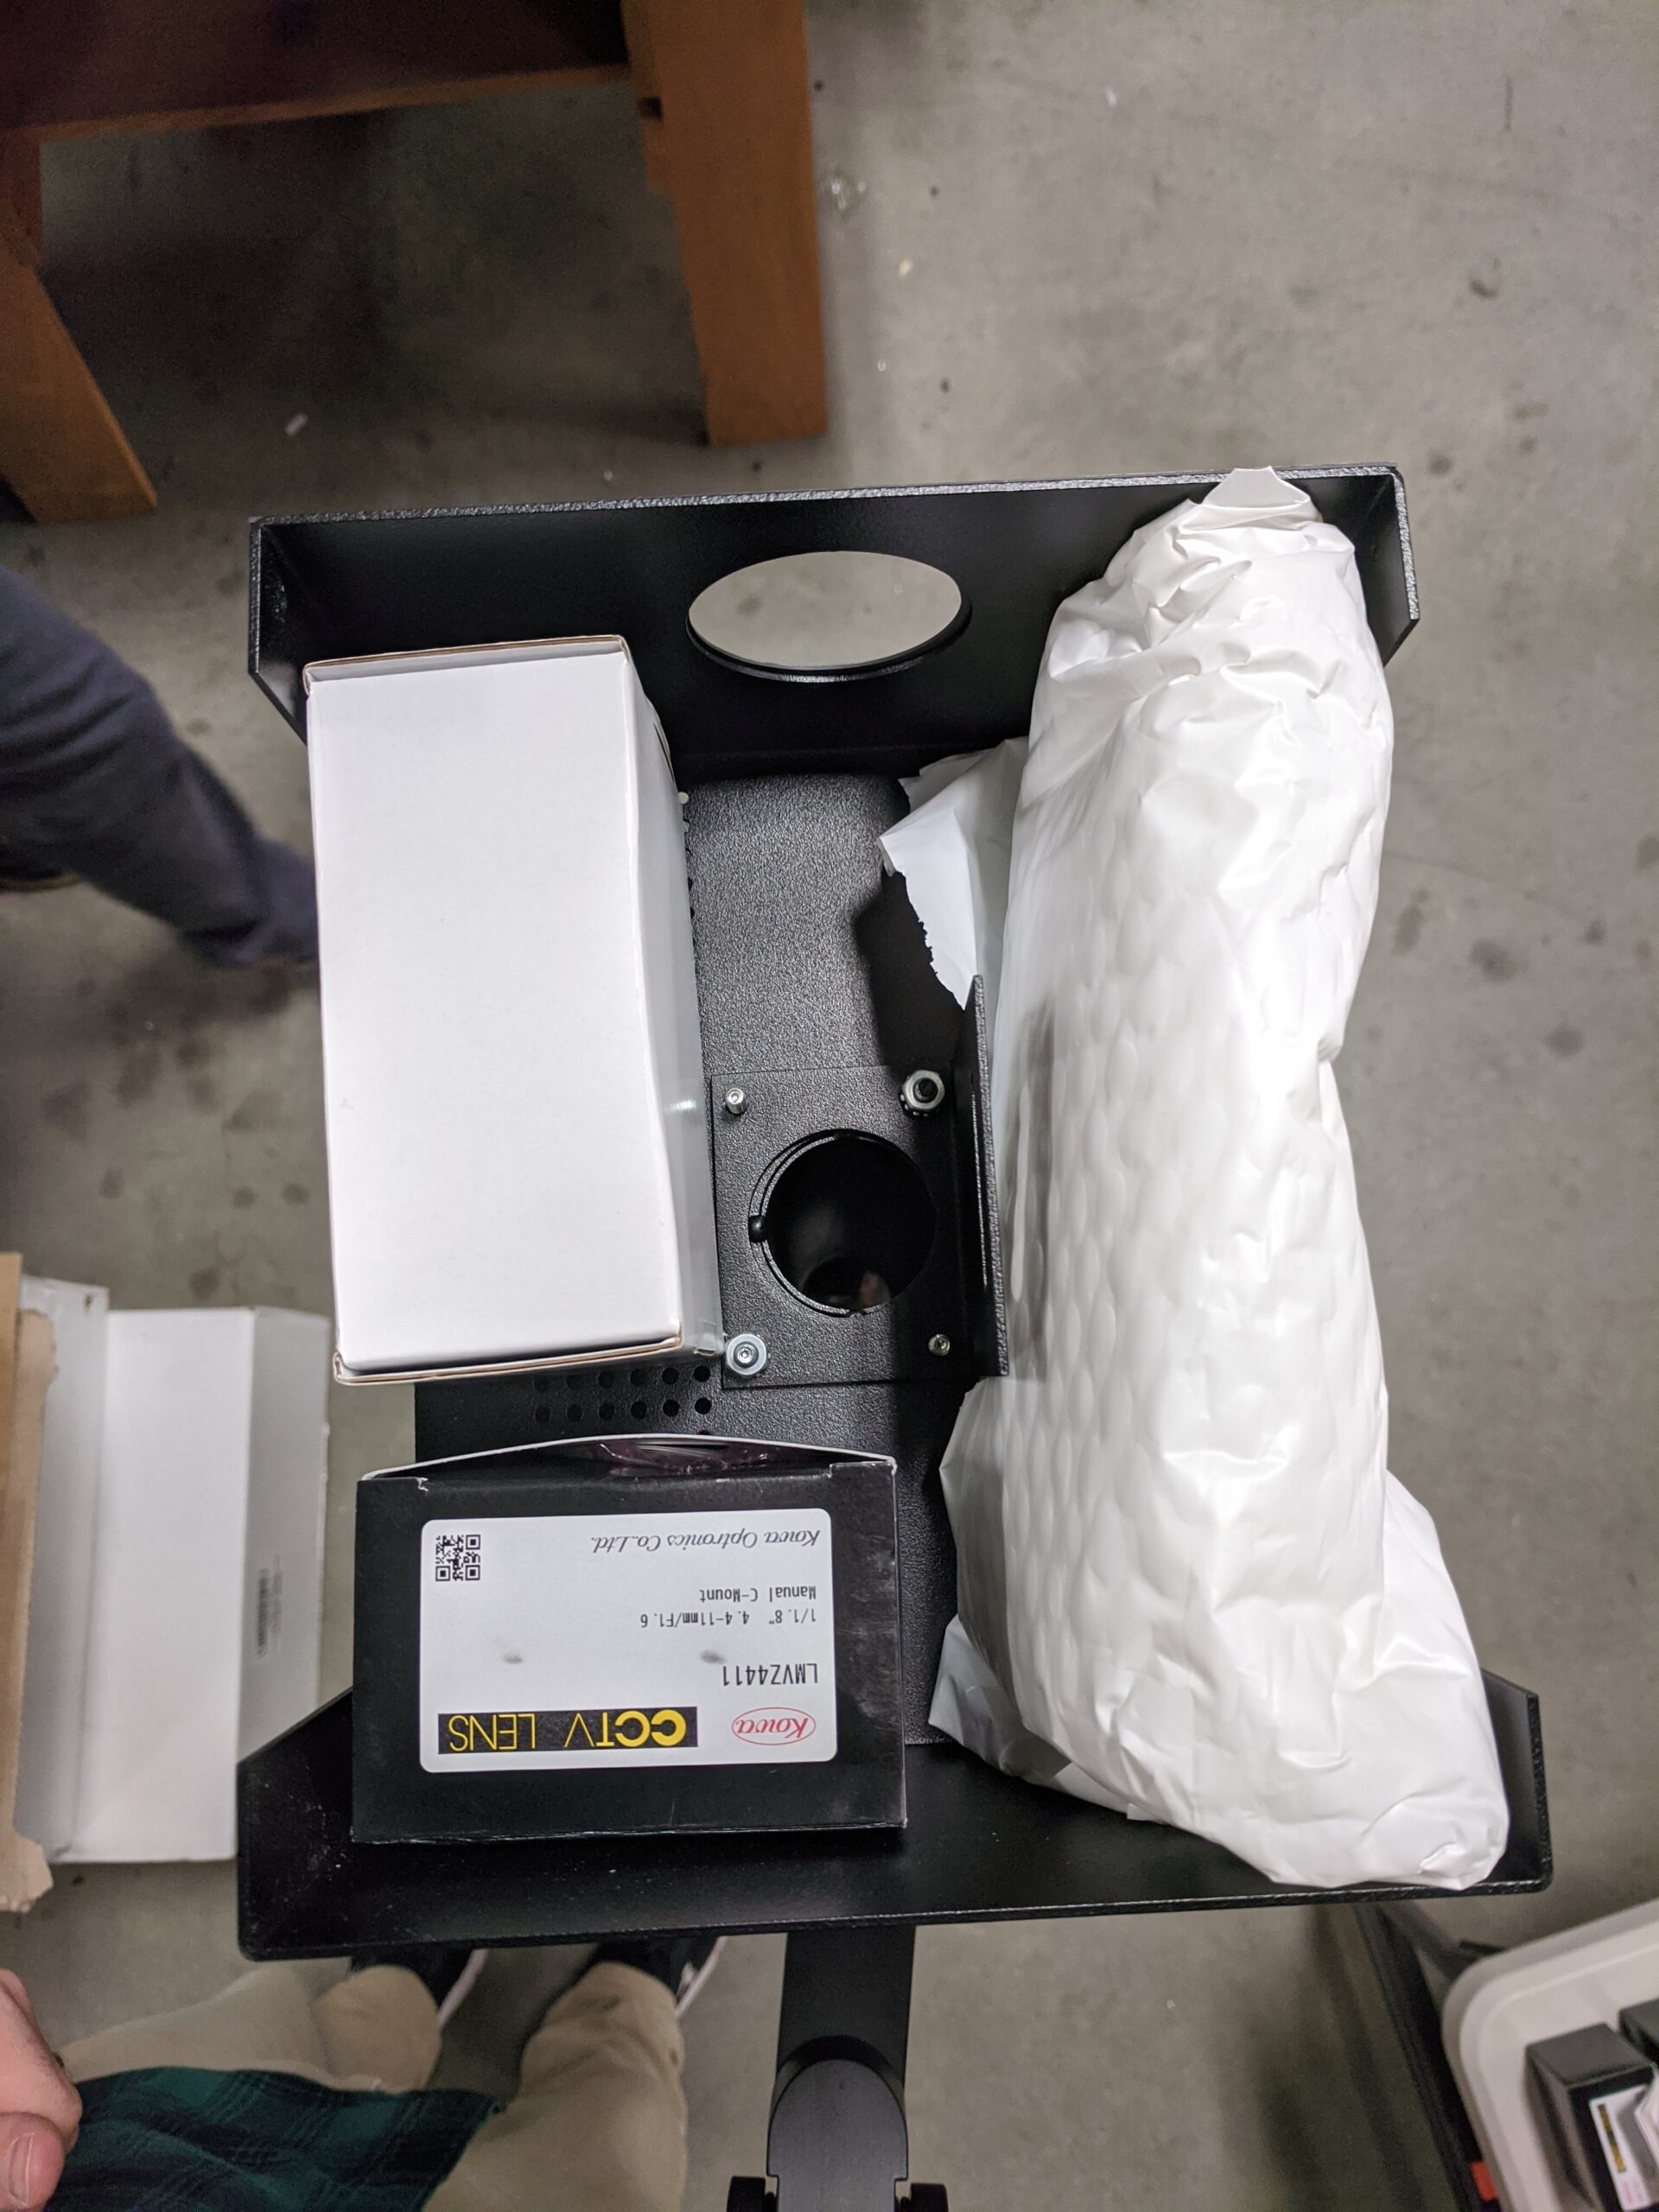
7. Remove the camera ‘top hat’ that includes all the parts to assemble the camera. The camera mast is removed using the 3/16” Allen tool included. Loosen each bolt in the internal collar by sticking the tool through the two holes near the top of the kiosk on the door side.
DO NOT REMOVE THE BOLTS COMPLETELY, ONLY LOOSEN THEM UNTIL THE CAMERA MAST CAN BE REMOVED.
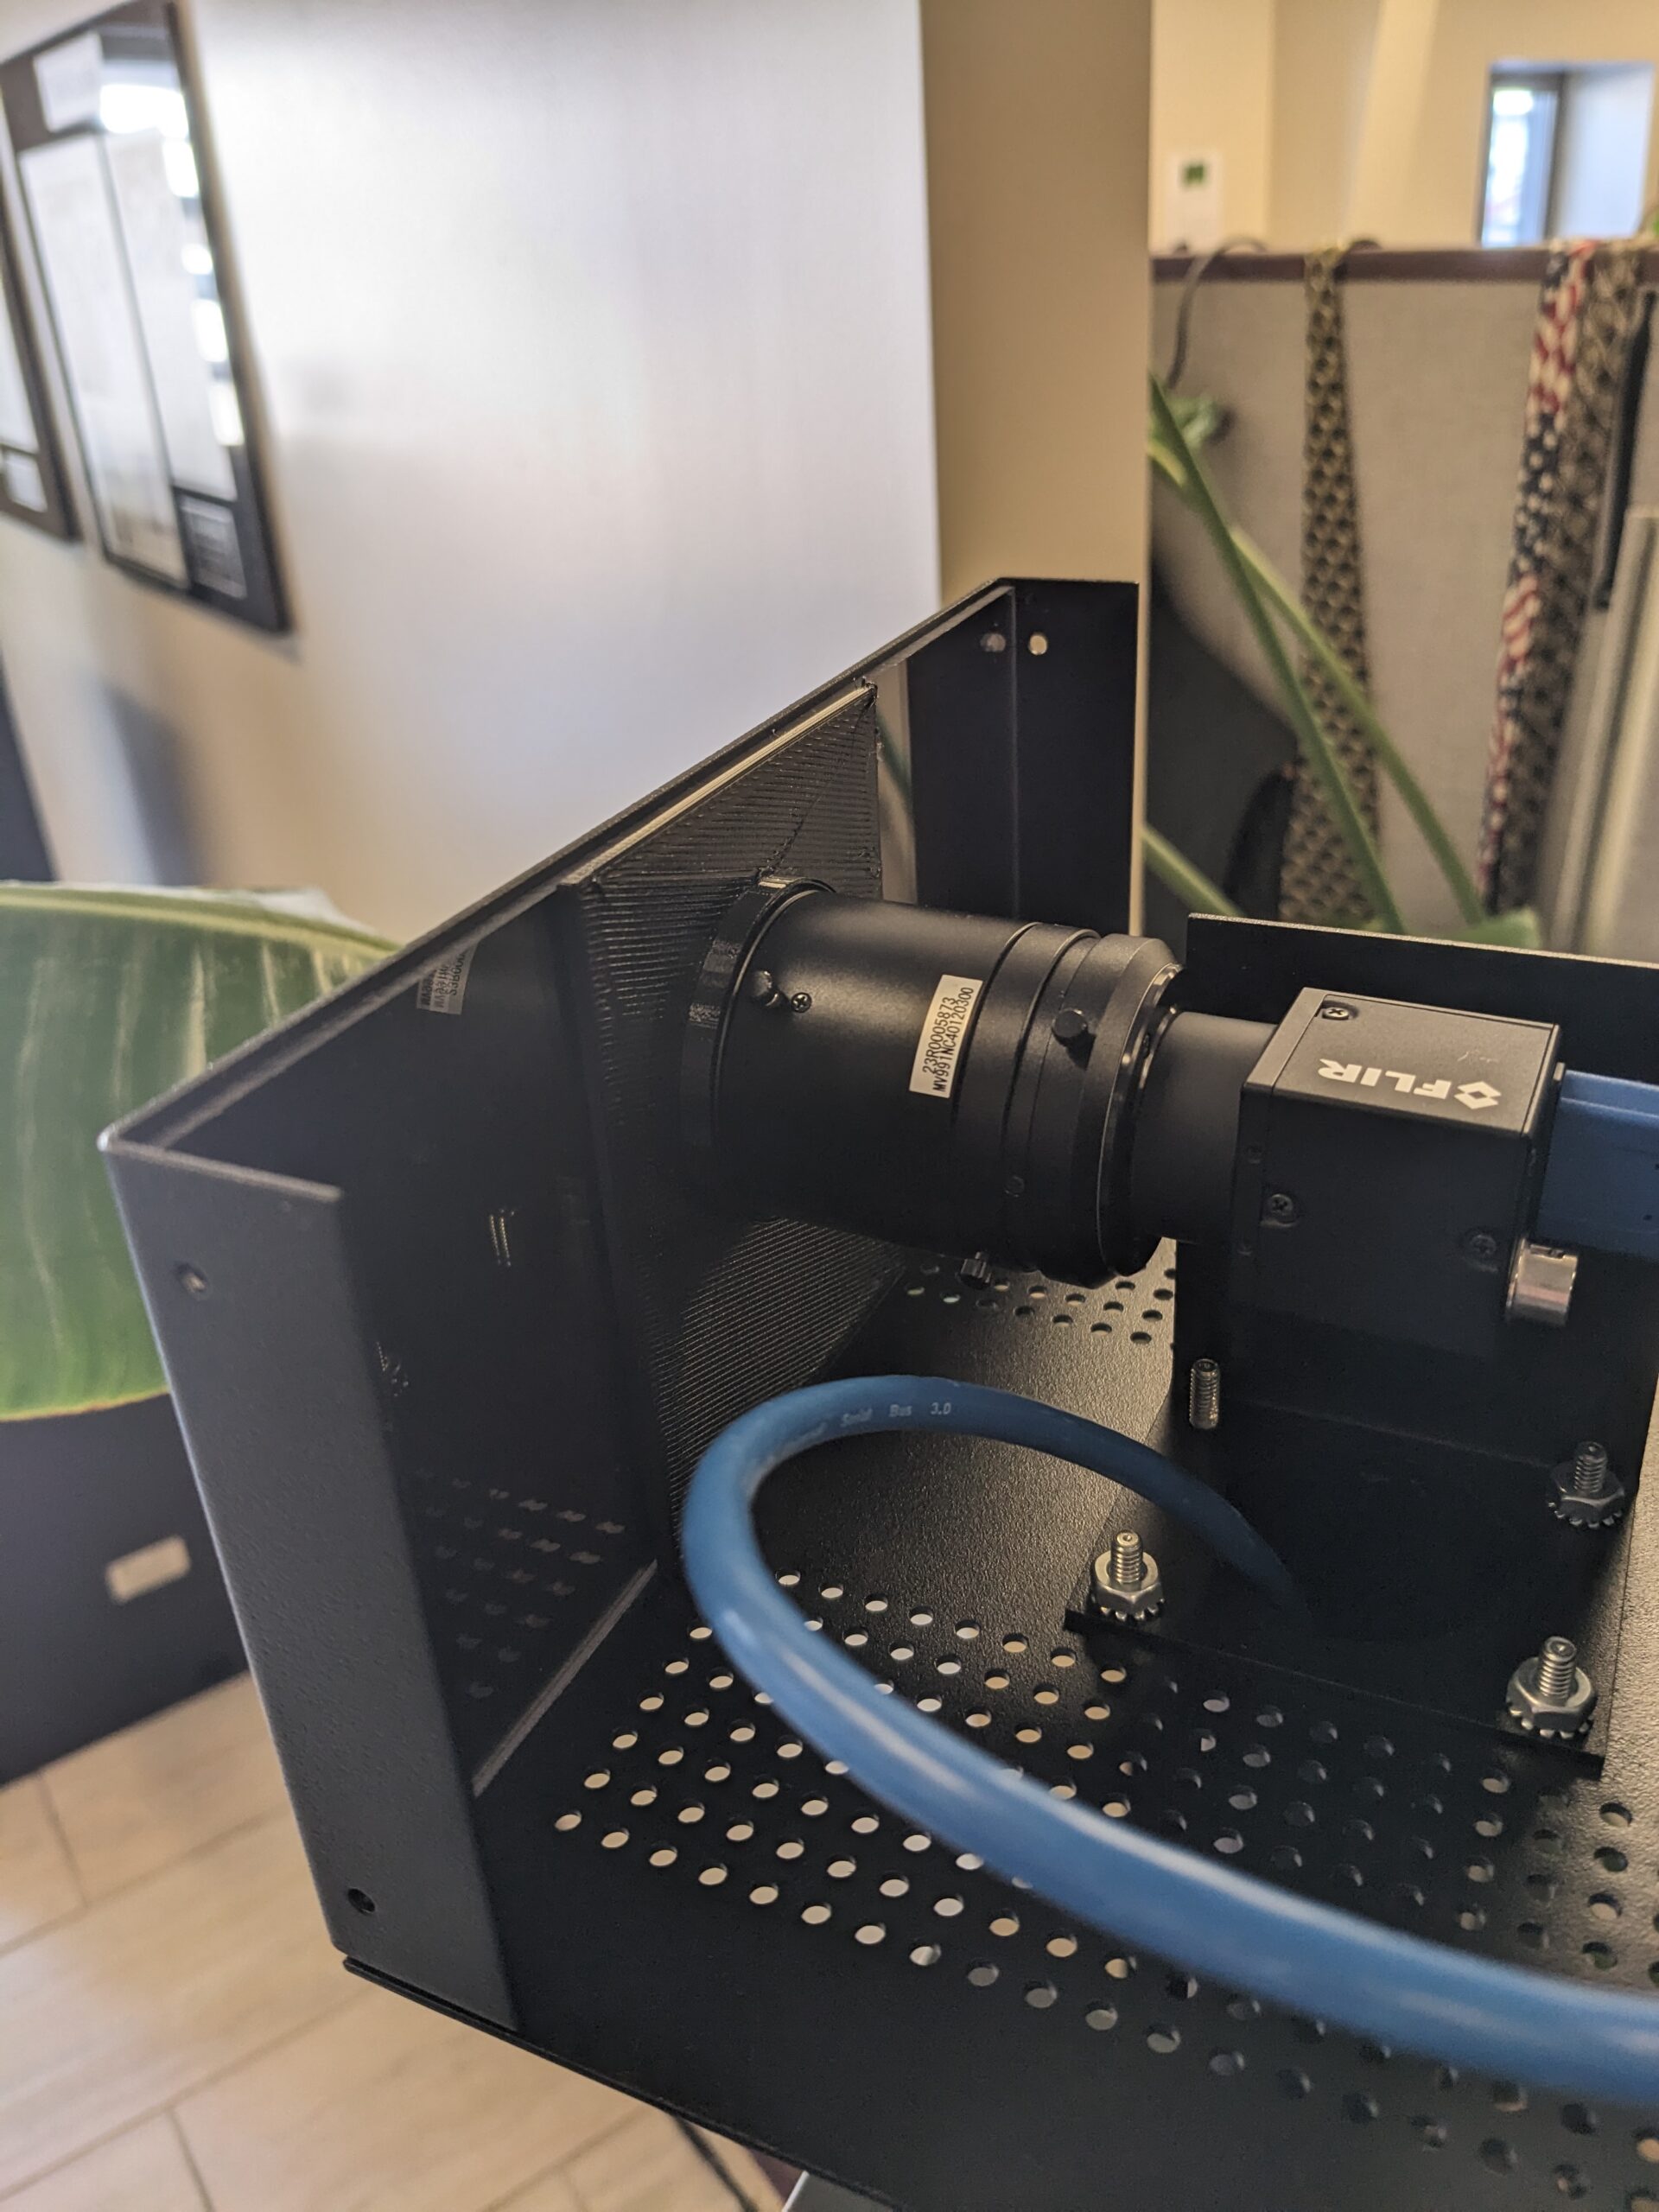
8. Place the camera top hat upside down on a padded surface so that you can remove the 4 screws that hold the cover on. Use a 1/8” Allen head wrench to remove the 8-32×3/8” bolts from the bottom of the hat assembly and set aside. This will allow you to slide the cover off of the top hat, revealing the camera, lens, glass cover with plastic lens gasket, and USB cable zip tied to the mounting bracket. Assemble the camera according to ASRC specs and install on the internal bracket finger tight. Reinstall the mast into the kiosk and make all necessary adjustments before reinstalling the camera lid onto the top hat. Re-install the camera mast into the hole in the top of the kiosk to the proper height and angle and then tighten down the internal collar. Install the hole plugs from the bag of essential items only once you are satisfied with the height and angle.
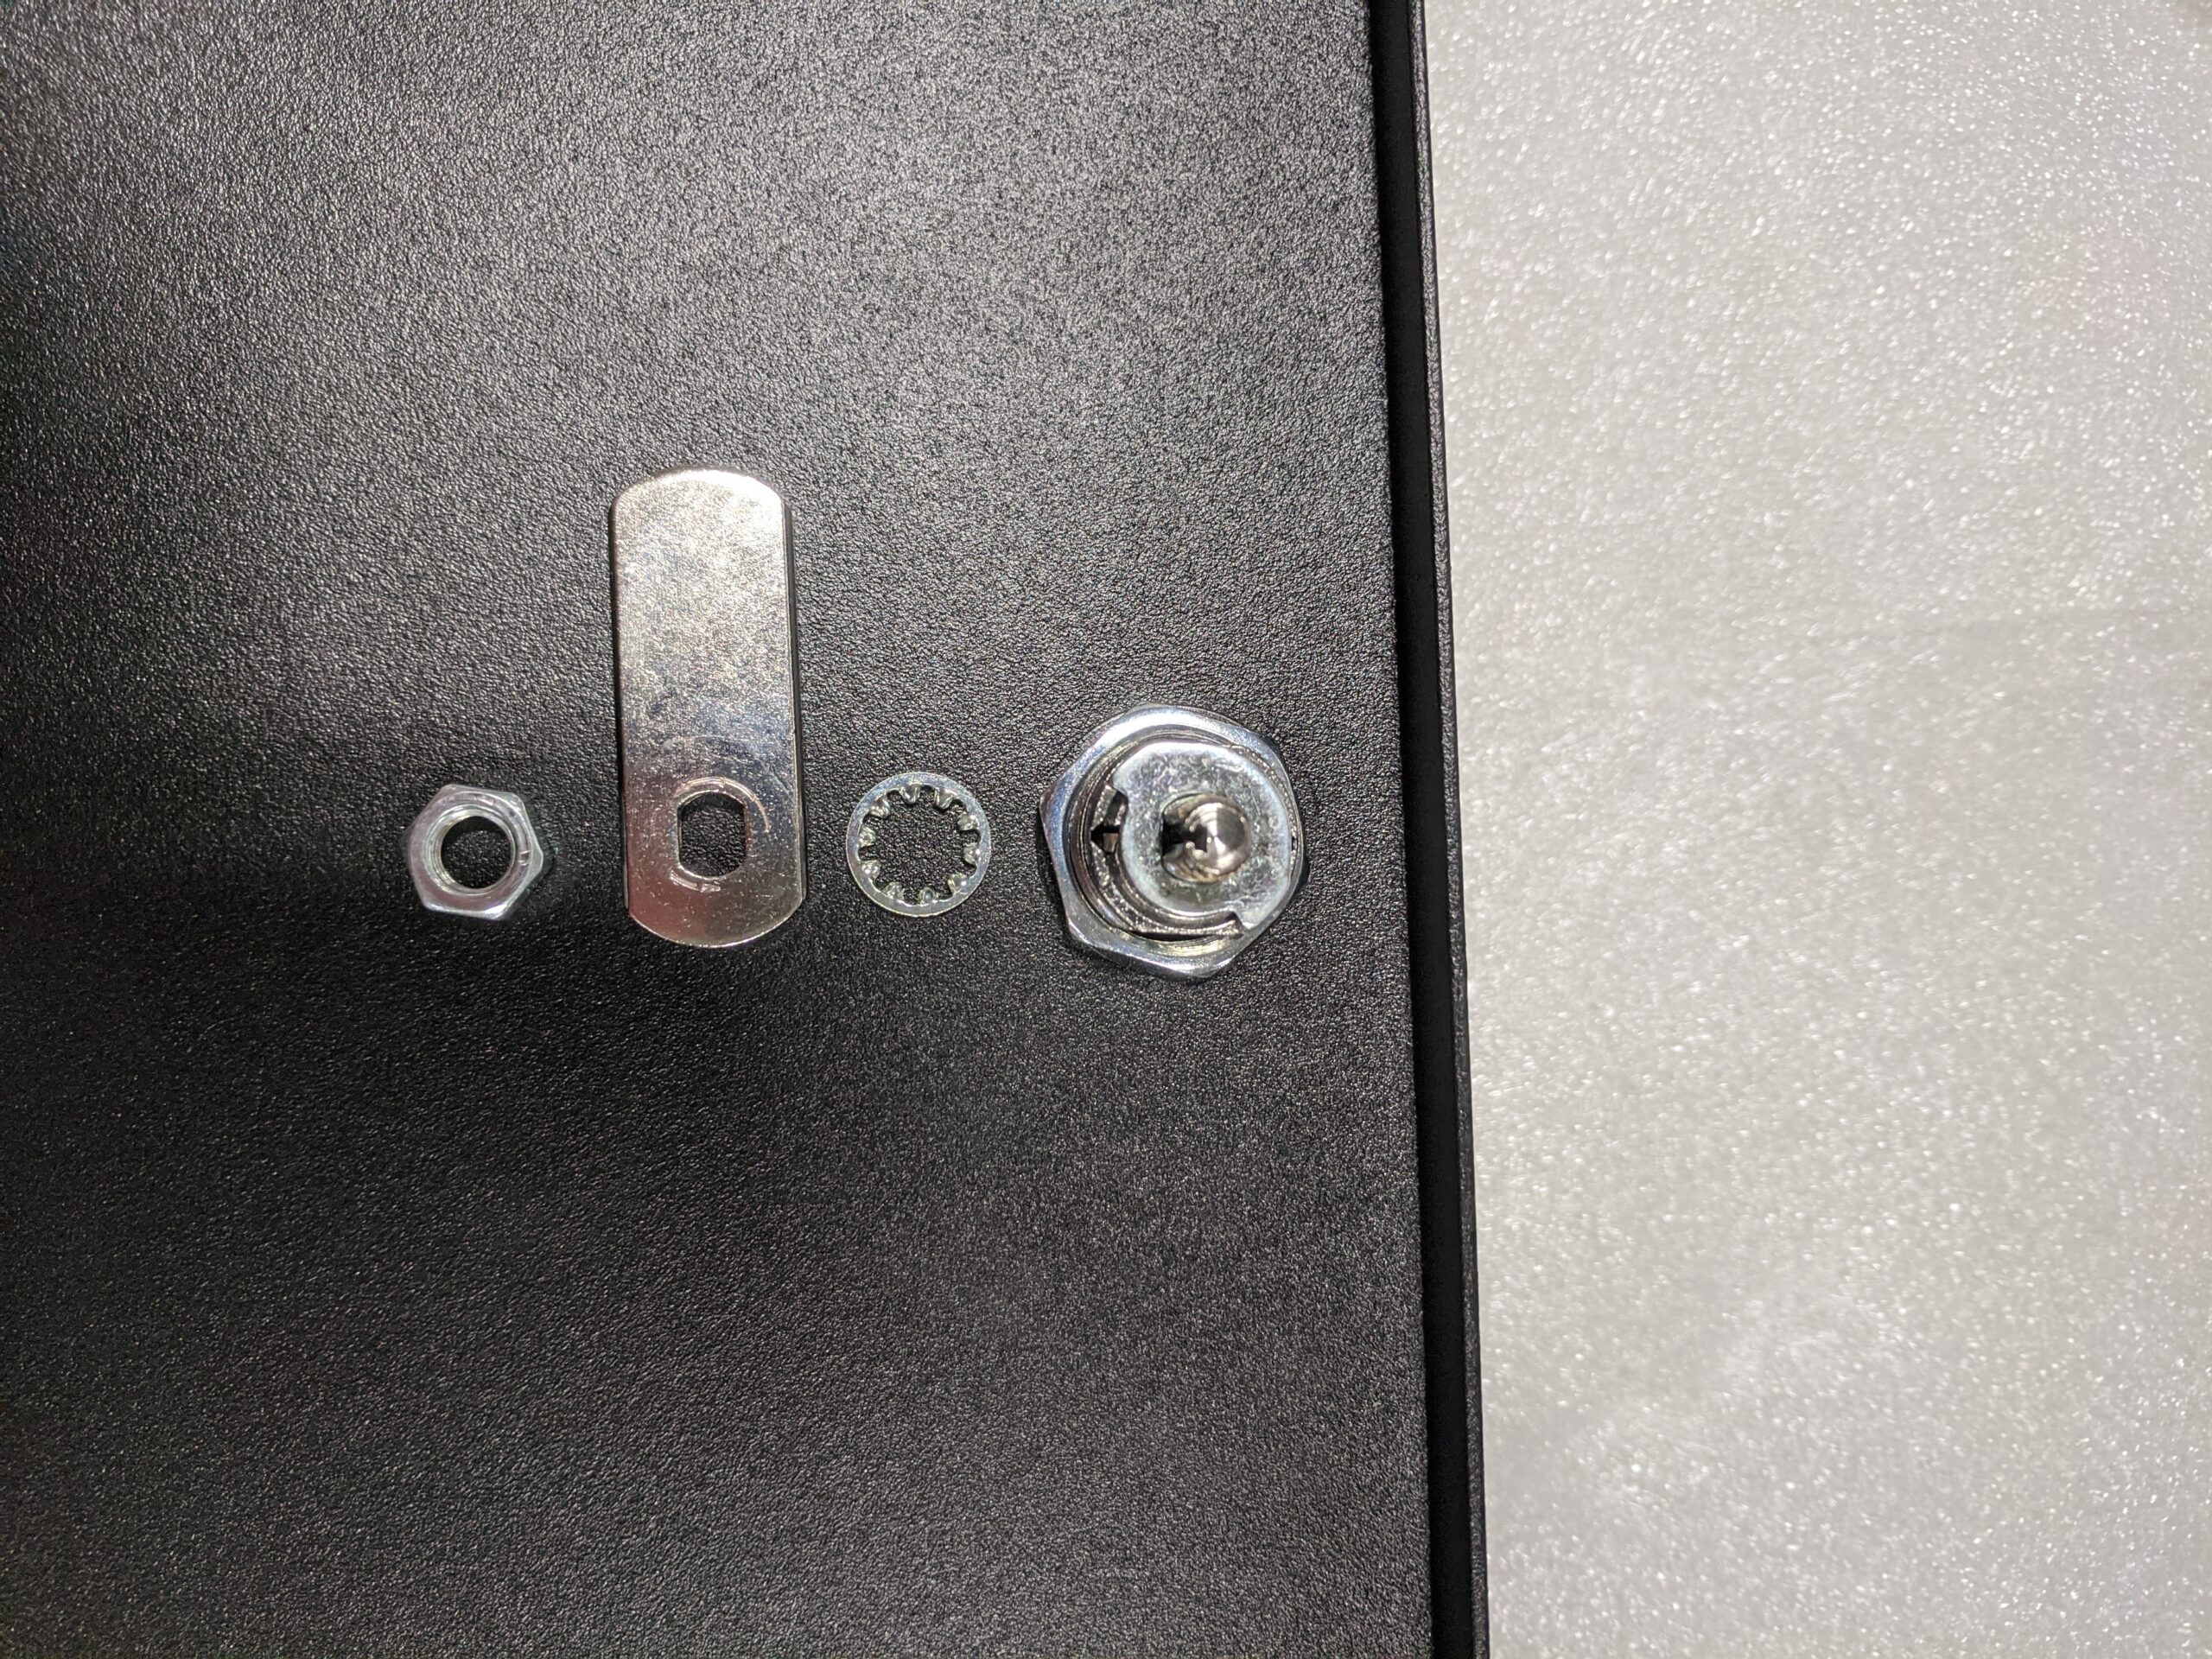
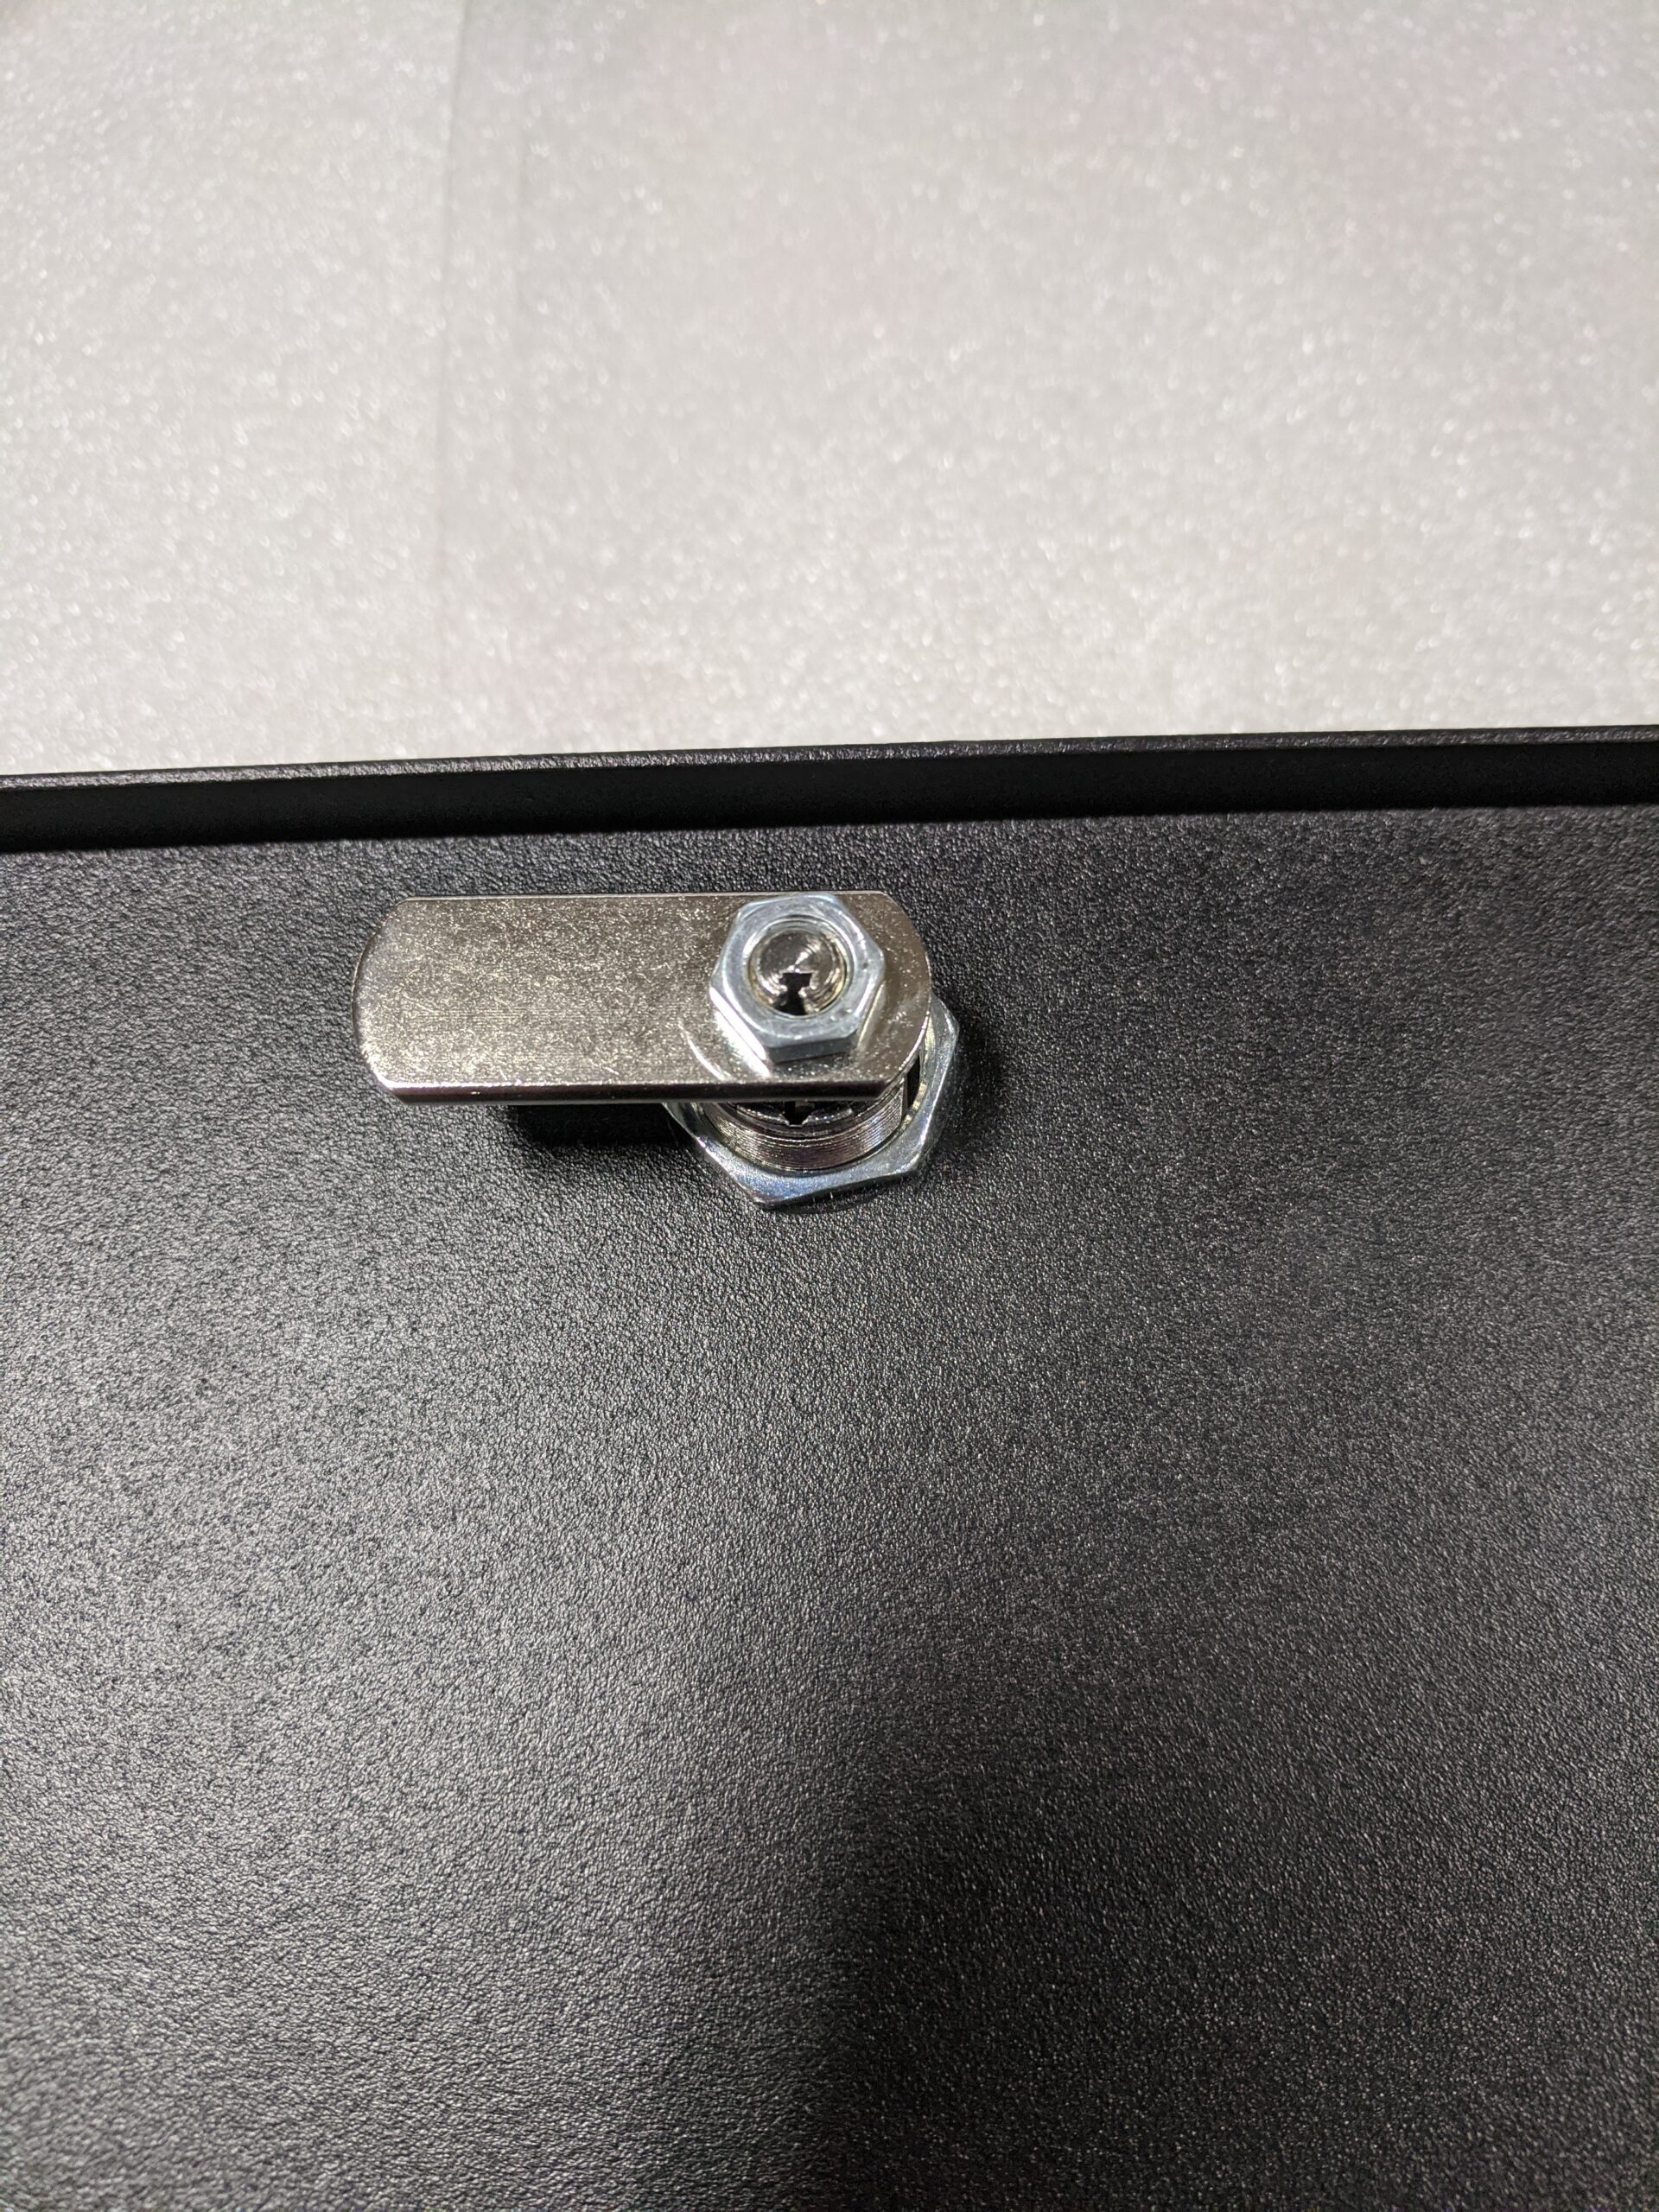
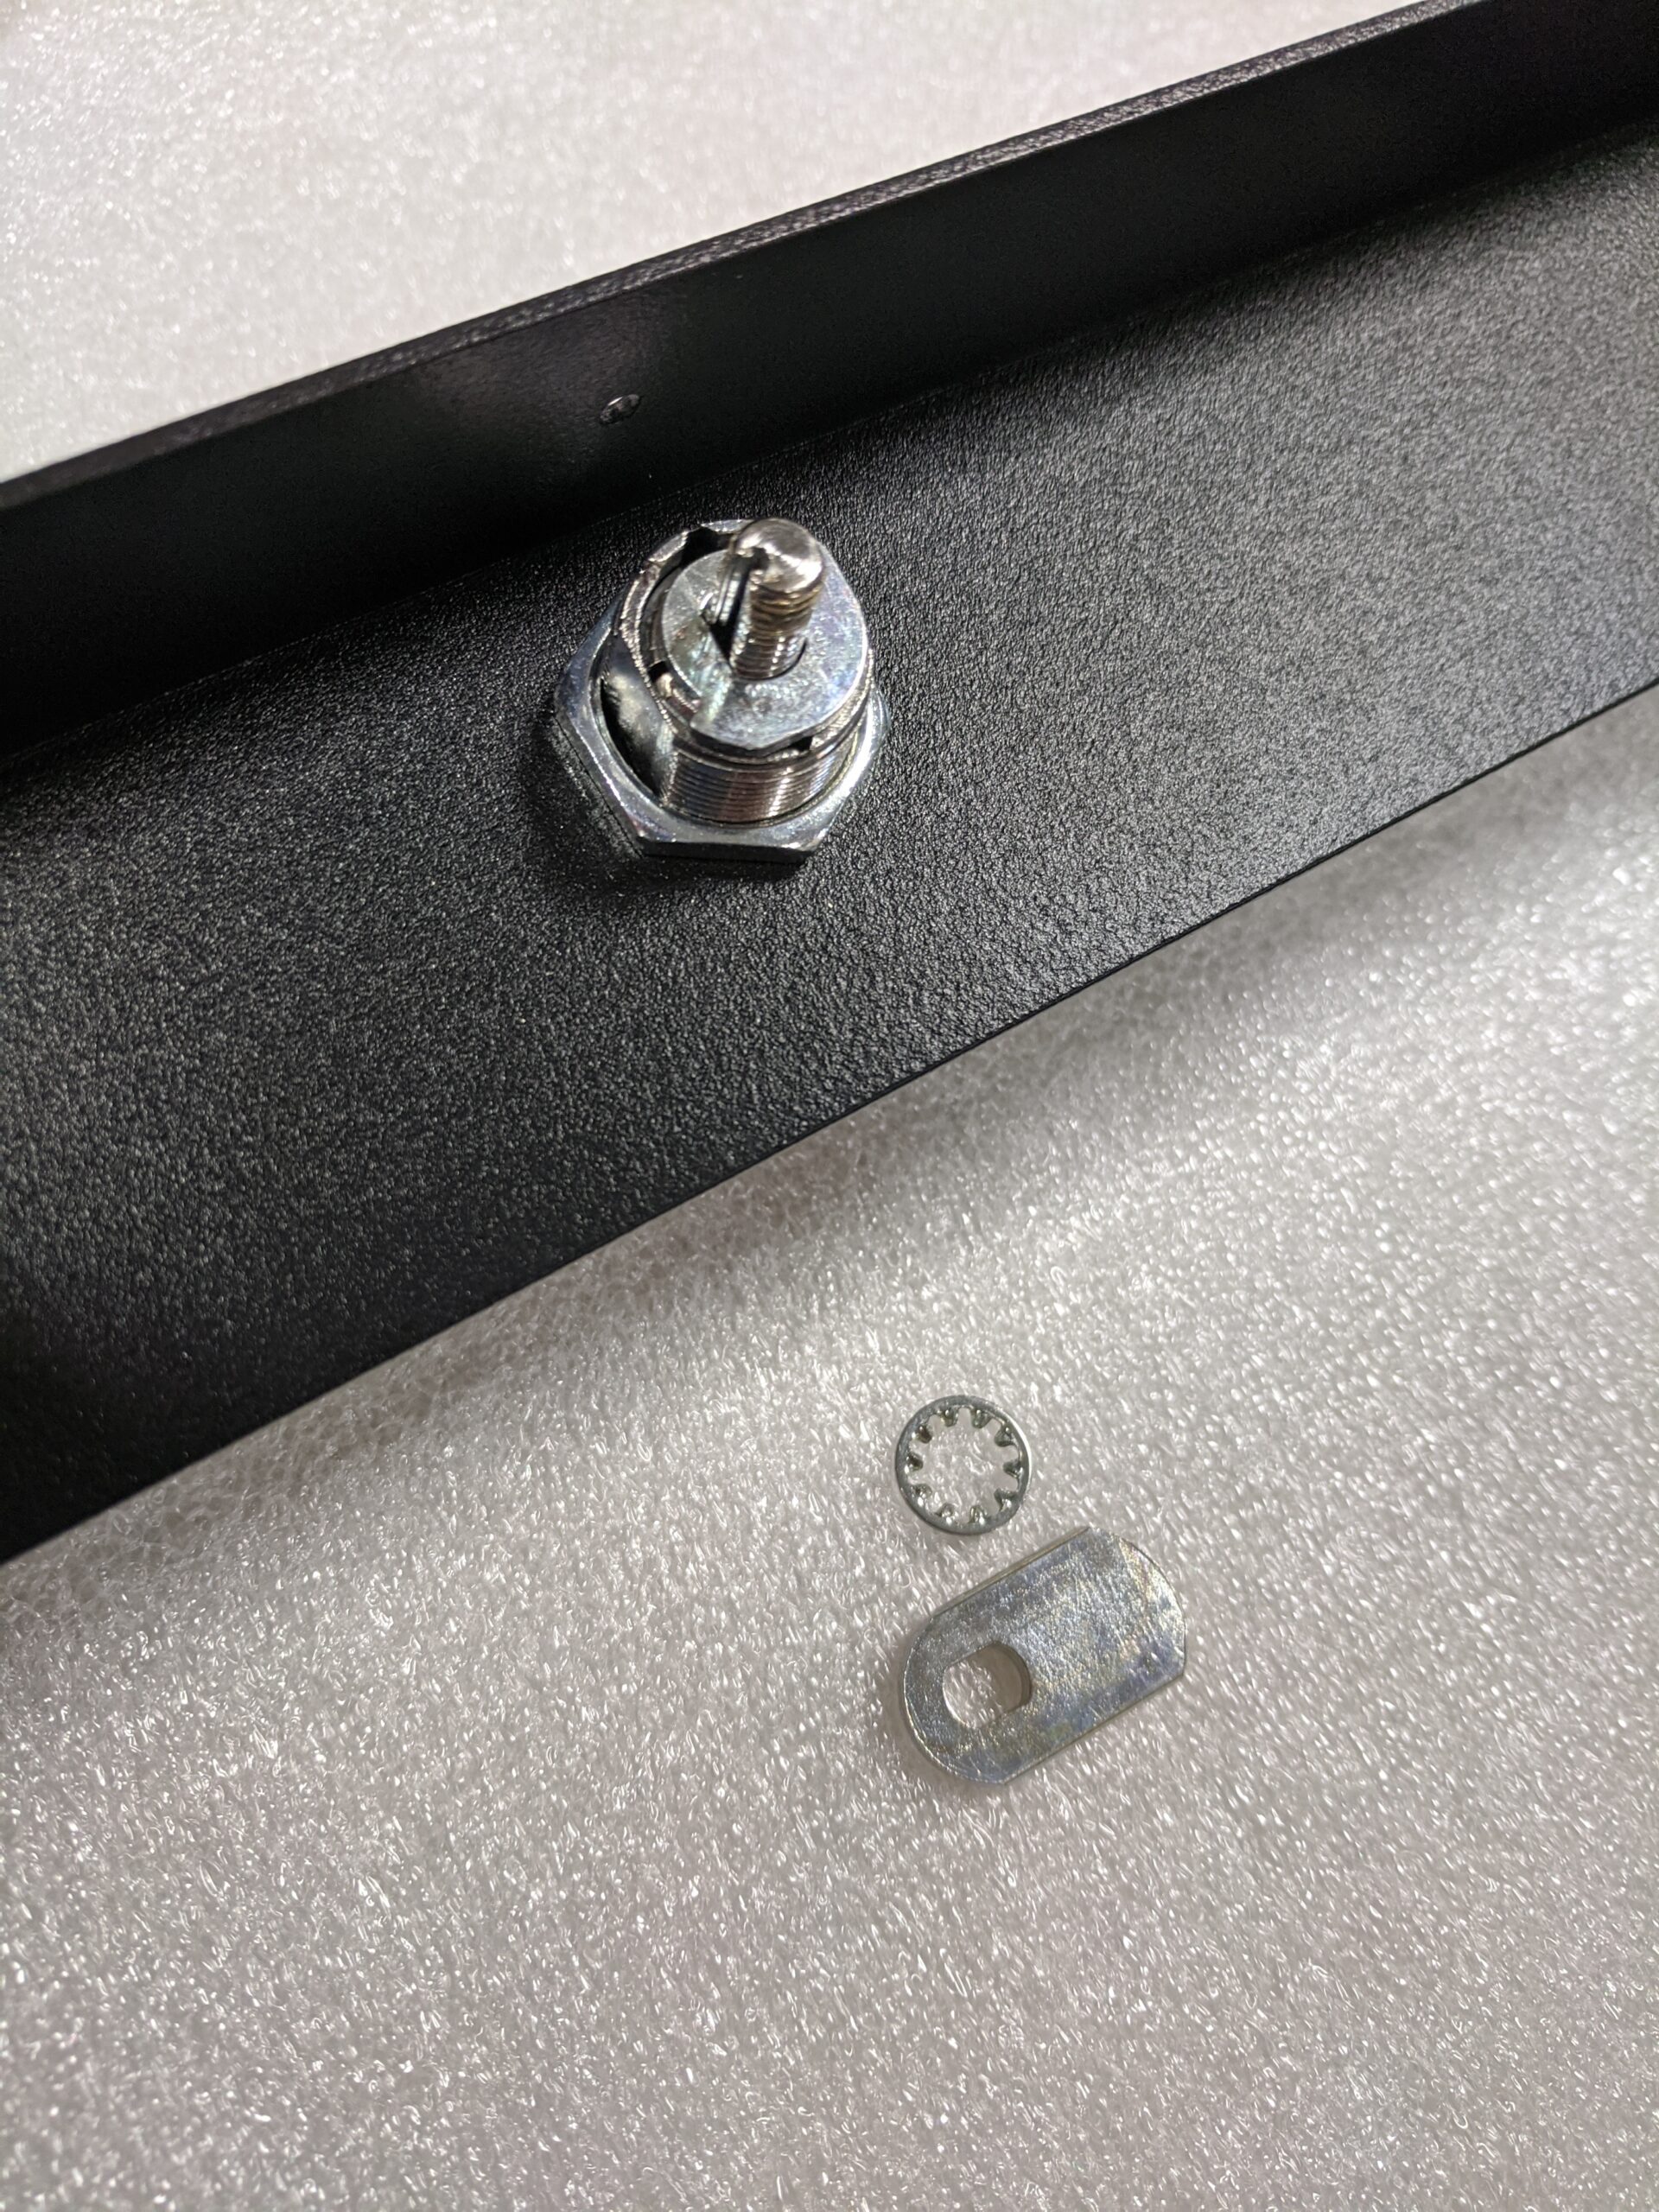
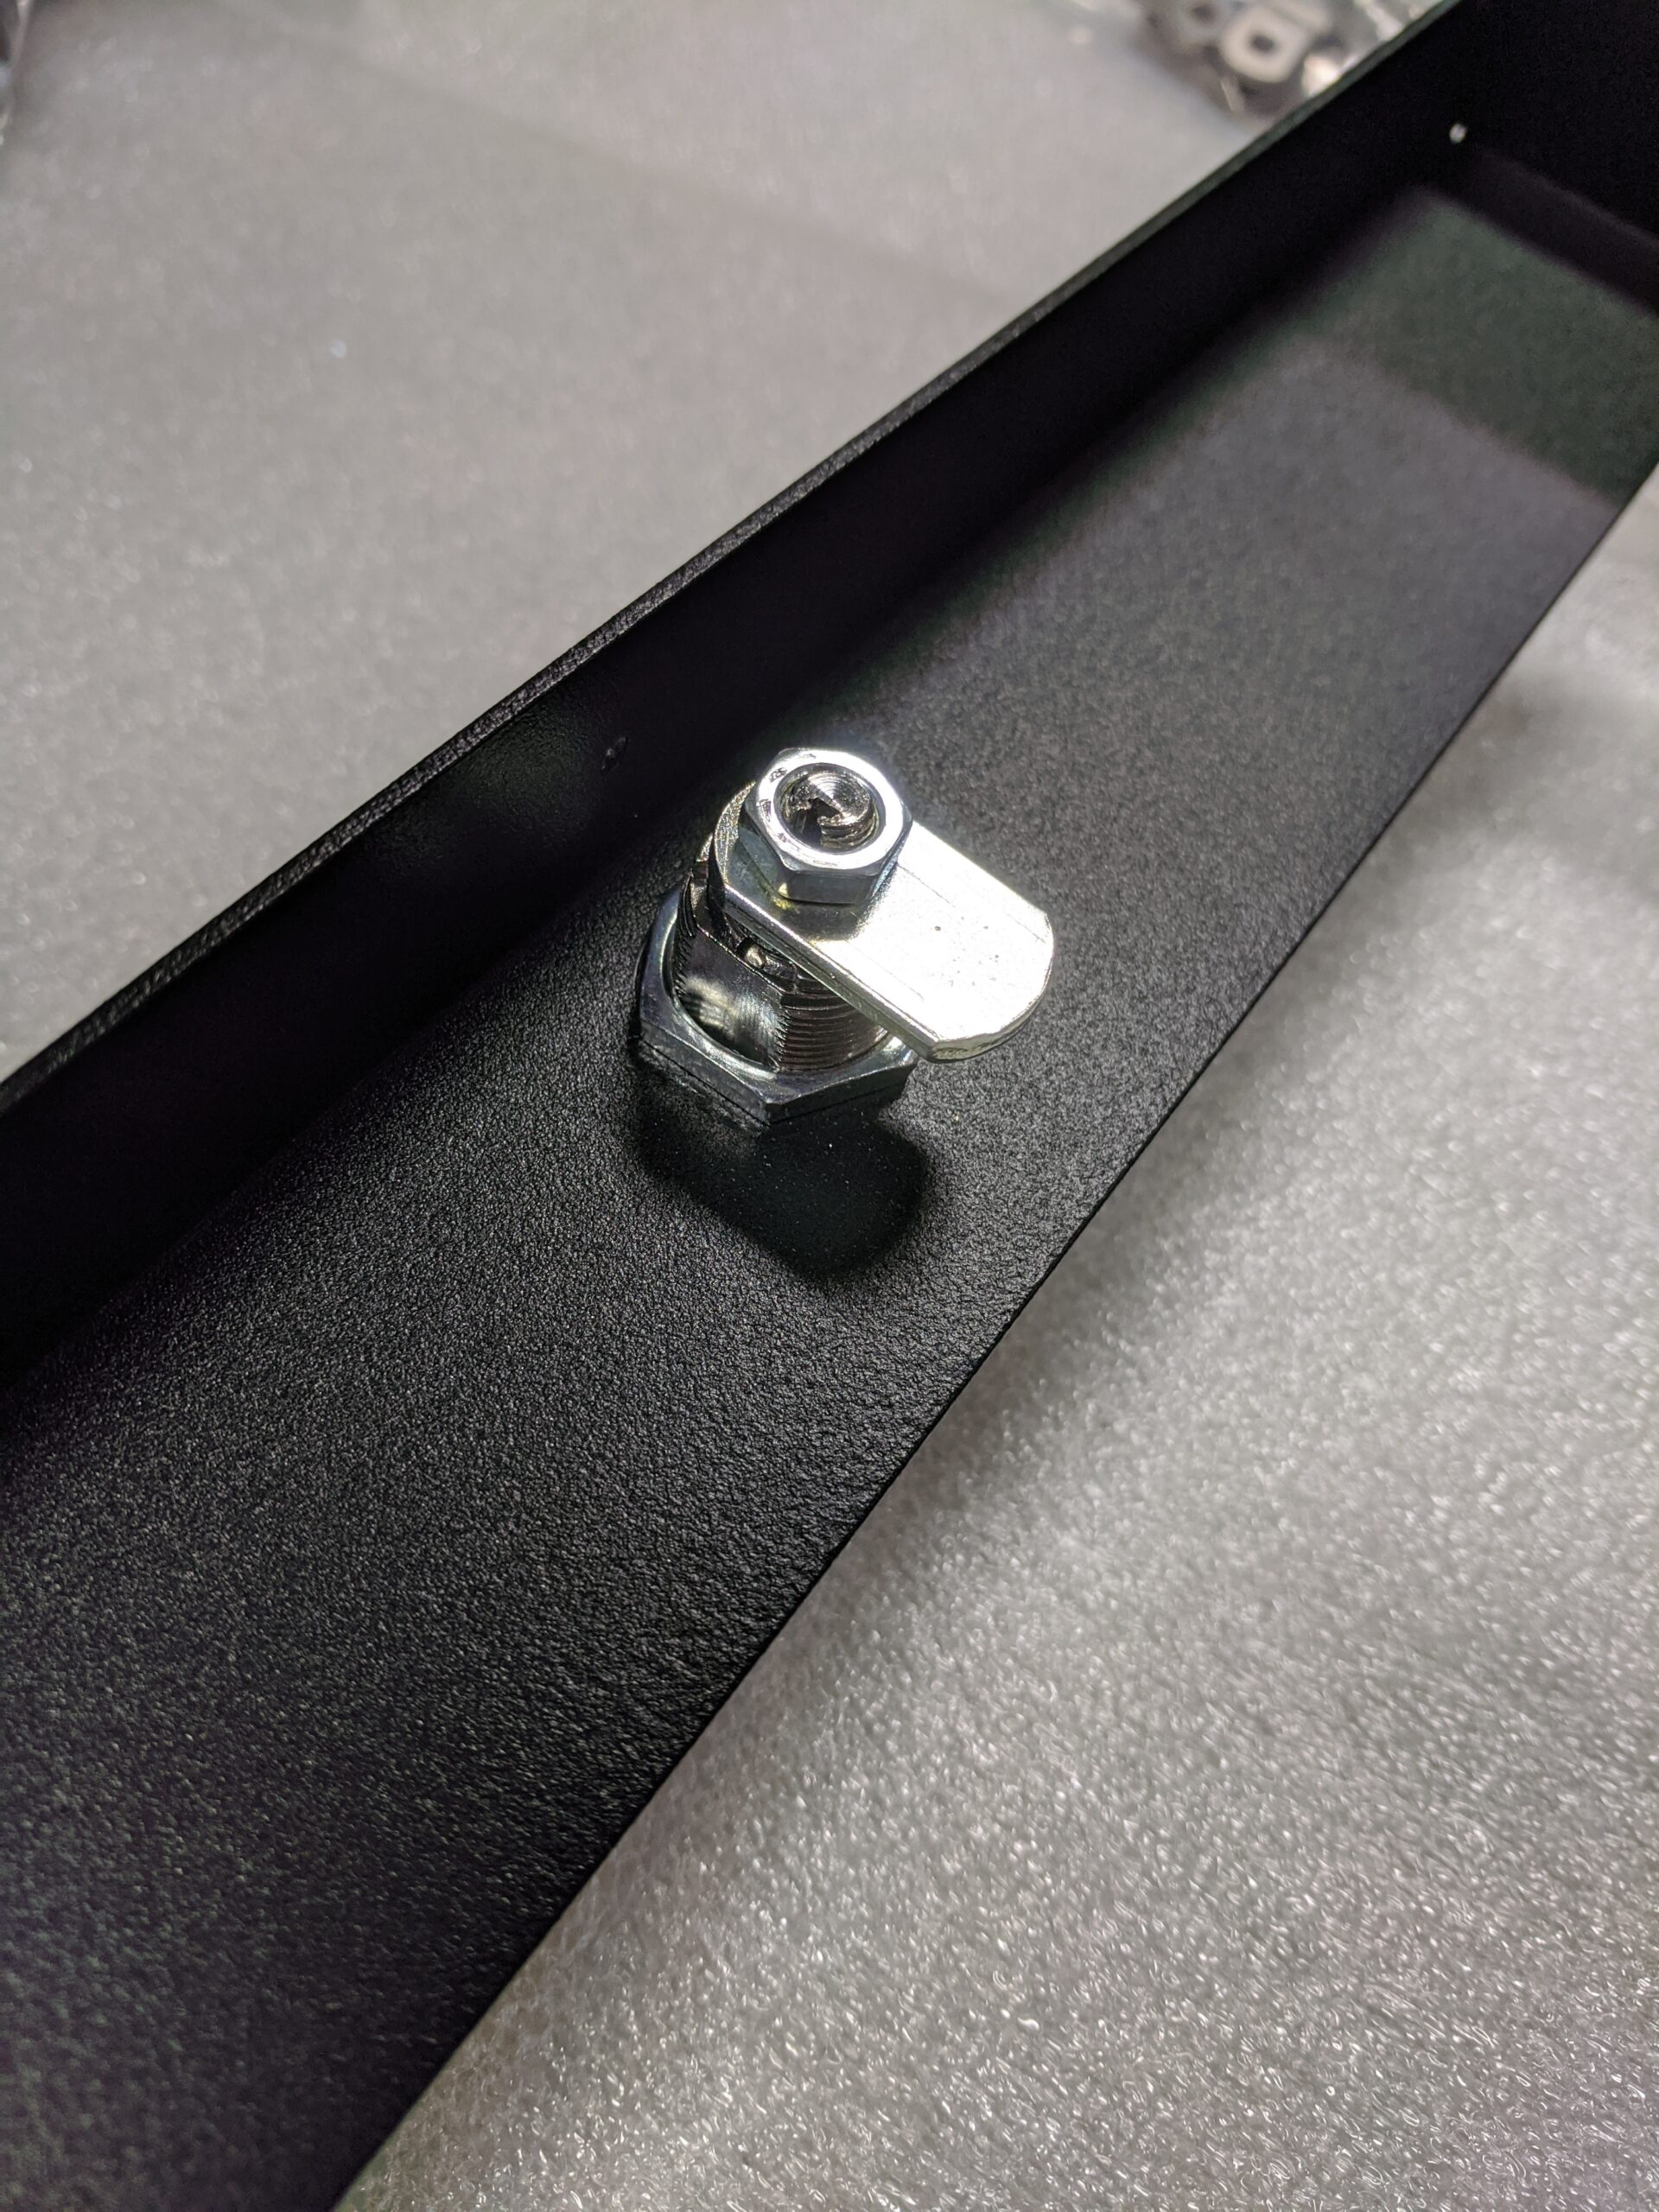
9. Remove the blue tape from the main access door from the kiosk. You will need to install a lock and cam into the door. The picture below will show the correct orientation. Set the door aside and install the USB hub on the long electrical mounts inside of the kiosk. There is a small piece of double-sided sticky tape to aid in the process. There will be zip ties preinstalled into the mounts to make this process as easy as possible. Plug the USB peripherals into the hub (PIV reader, camera, tablet, CAT6 cable if desired) and run the connector USB cable and power cable up to the tablet. You can make a small incision in the corrugated plastic tube or run the cables up through the braided sleeve. If you run the cables through a hole in the corrugated tube, use electrical tape to cover the hole to preserve good airflow from the fan. Use the extra zip ties and zip tie mounts to secure any loose cables.
10. Install the privacy screen onto the tablet. Remove the cover from the tablet holder and remove all packing materials. There are small pieces of foam that help hold the tablet in place once in the holders. Plug the tablet into the USB cable and snap into place. The top and bottom 3D printed mounts are made of a carbon fiber reinforced material and should flex just enough to get the tablet into place. Install a lock and cam into the face of the tablet holder as shown below and reinstall the tablet holder door.
11. Move the kiosk into the position where it will be used. Plug the power into a standard outlet. The lightbar should illuminate either red or blue. There is a small switch below the PIV card reader on the kiosk that will change the color from one to the other color. When the light is blue, there is also a small fan below the protective grill on the kiosk body that should begin pulling air. Ensure that the fan is spinning when the light is blue and that the fan is off when the light is red.
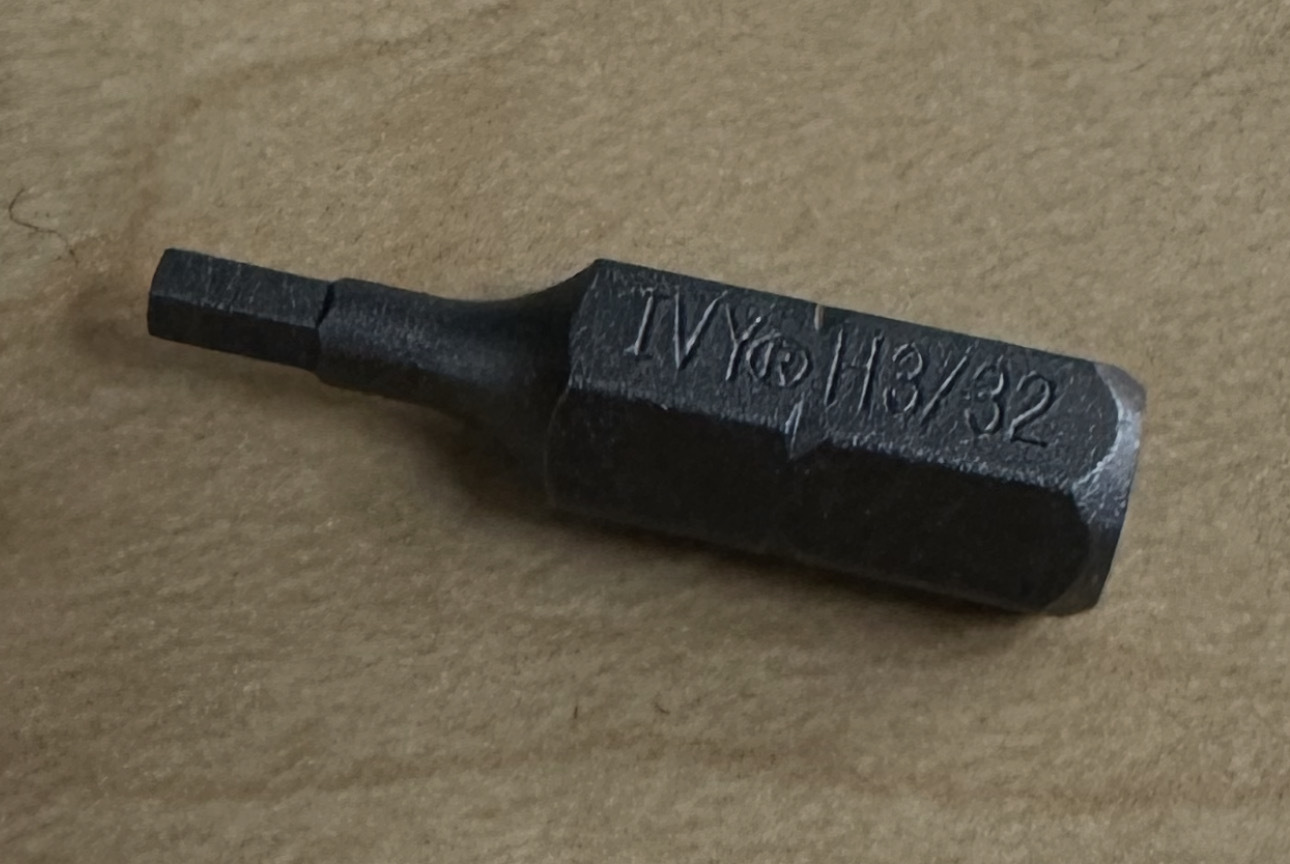
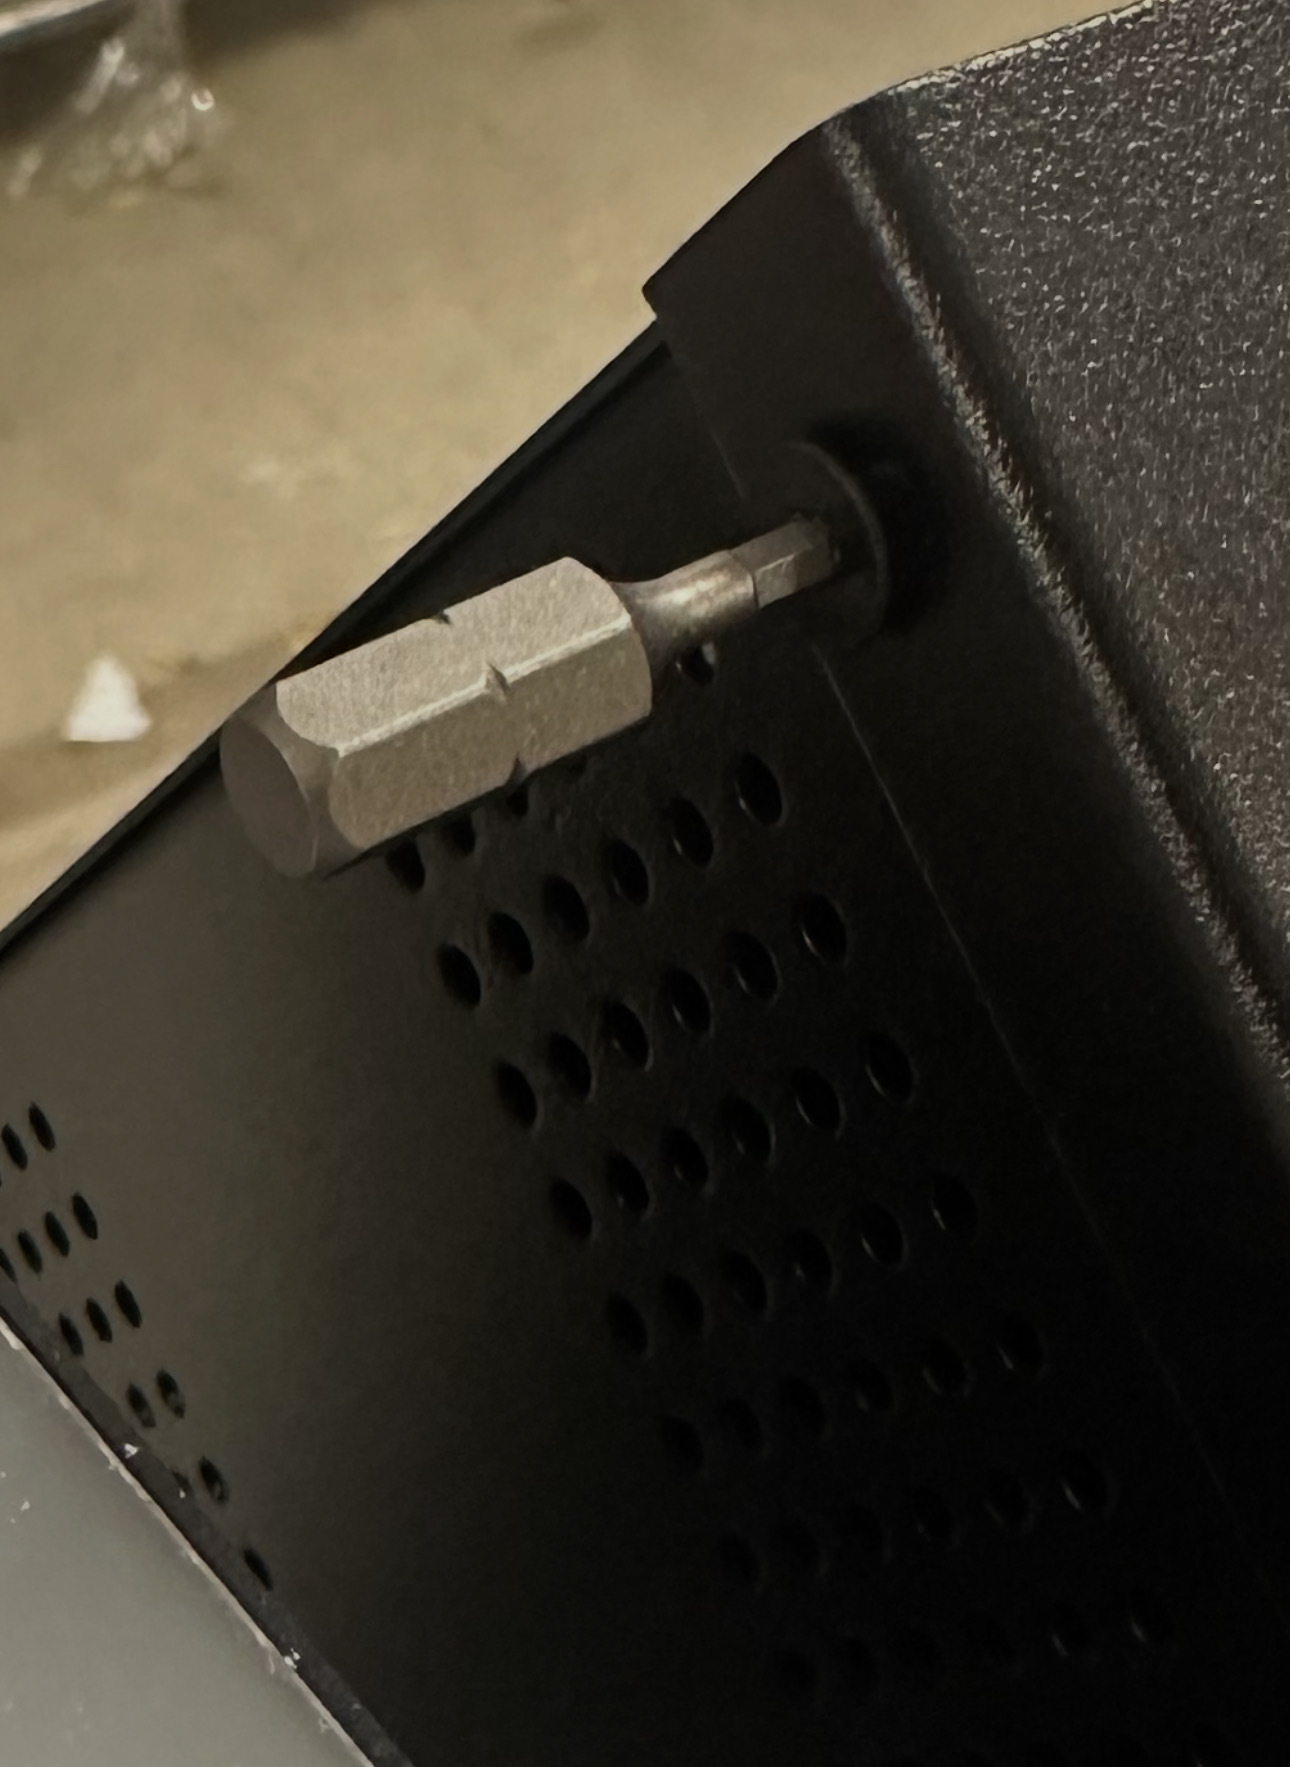
TIP: using the 3/32 Hex Head – DO NOT OVERTIGHTEN
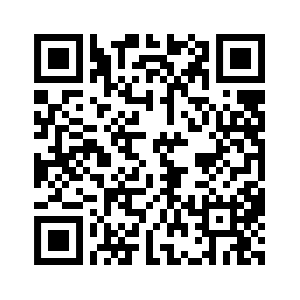
Need help? Scan the QR code below to access dedicated support for this project.
All service and support is subject to the Advanced Kiosks Terms and Conditions. Please remember that we can only offer technical support for equipment and software that was purchased from Advanced Kiosks. Because of variables beyond our control, we cannot guarantee a solution for any defective third party software or programs. Nonetheless, our goal is to always help find a solution.
If you have questions, please contact our Sales representative at 1(603) 865-1000, Option 1.


